Ceiling Hang Kit
$9.00 AUD
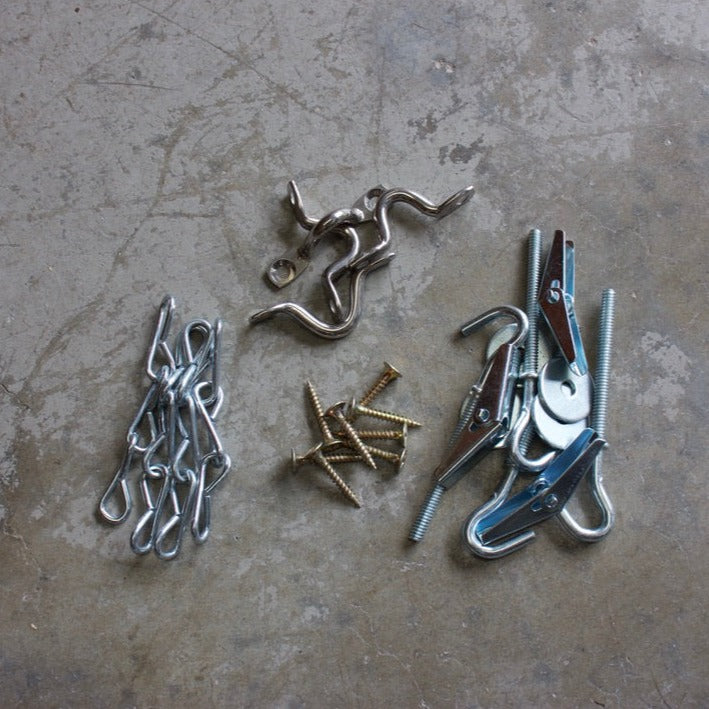
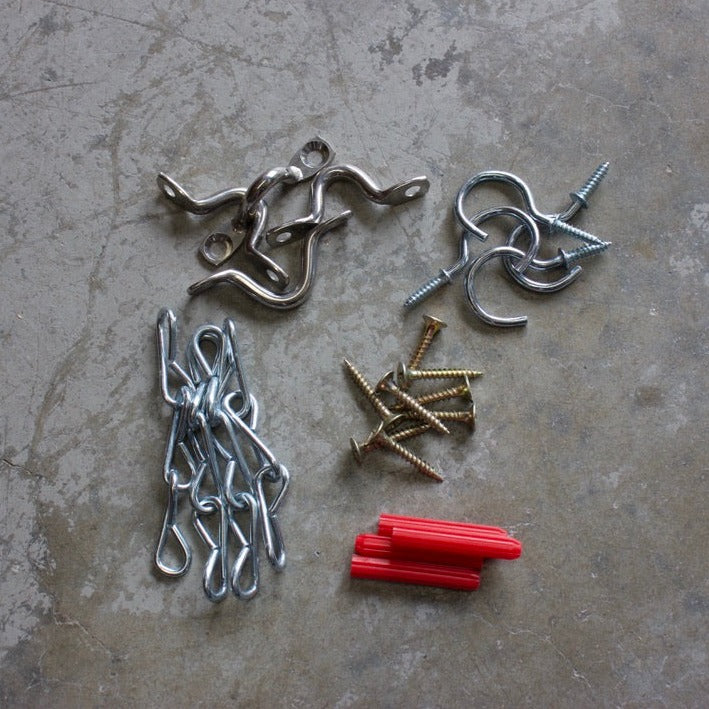
Select from the options above to view the appropriate ‘What’s included’ and ‘Instructions’ below.
Our ceiling hang kits are designed to suit a range of products by being suspended from the ceiling on chains and does not require the need to install into studs.
Ceiling placement is often overlooked but should really be a high priority when it comes to treatment.
Kits provide a length of 100mm in total.
Please note: Installation is quite difficult to do without a laser line but can be done with a large square.
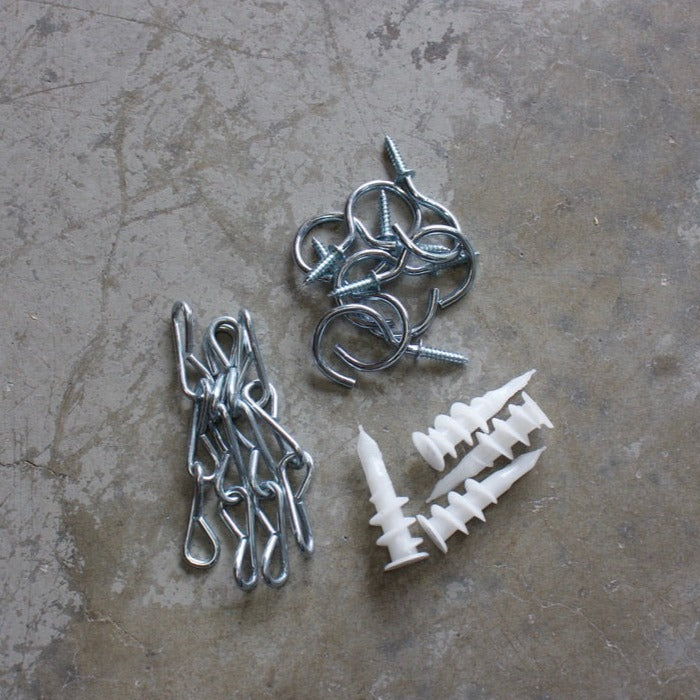
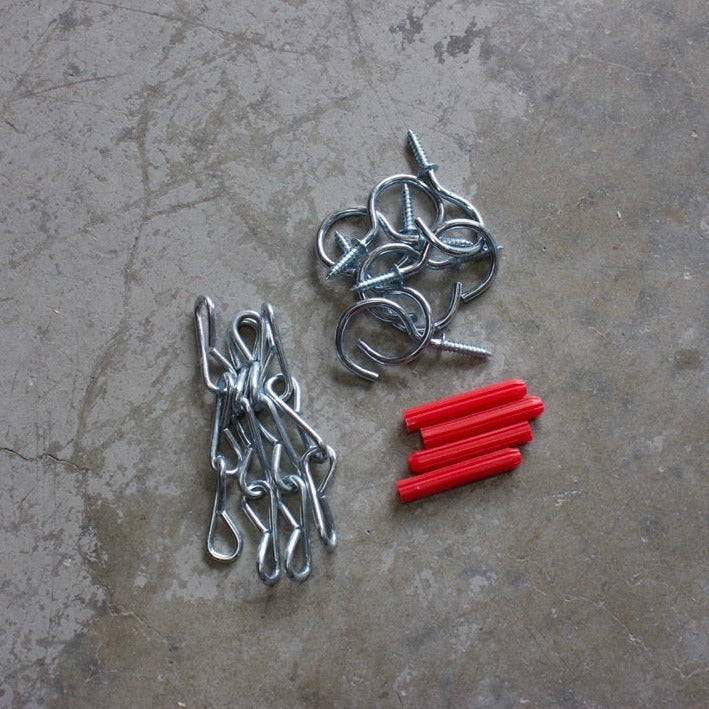
8x Screw Cup Hooks
4x Chains
4x Nylon Screws
Purchase 1x kit per product.
Please refer to the ‘Room Setup’ guide to determine suitable positioning of your products first.
Always ensure there are no electrical wires behind where you are drilling. Use a AC detecter if unsure.
Tools required: Measuring tape, laser line with stand or large square, pencil, electric drill, PH3 Phillips Head and 5mm & 2.5mm drill bit.
- Measure and mark out along the ceiling from the wall where you would like a corner of your product to be.
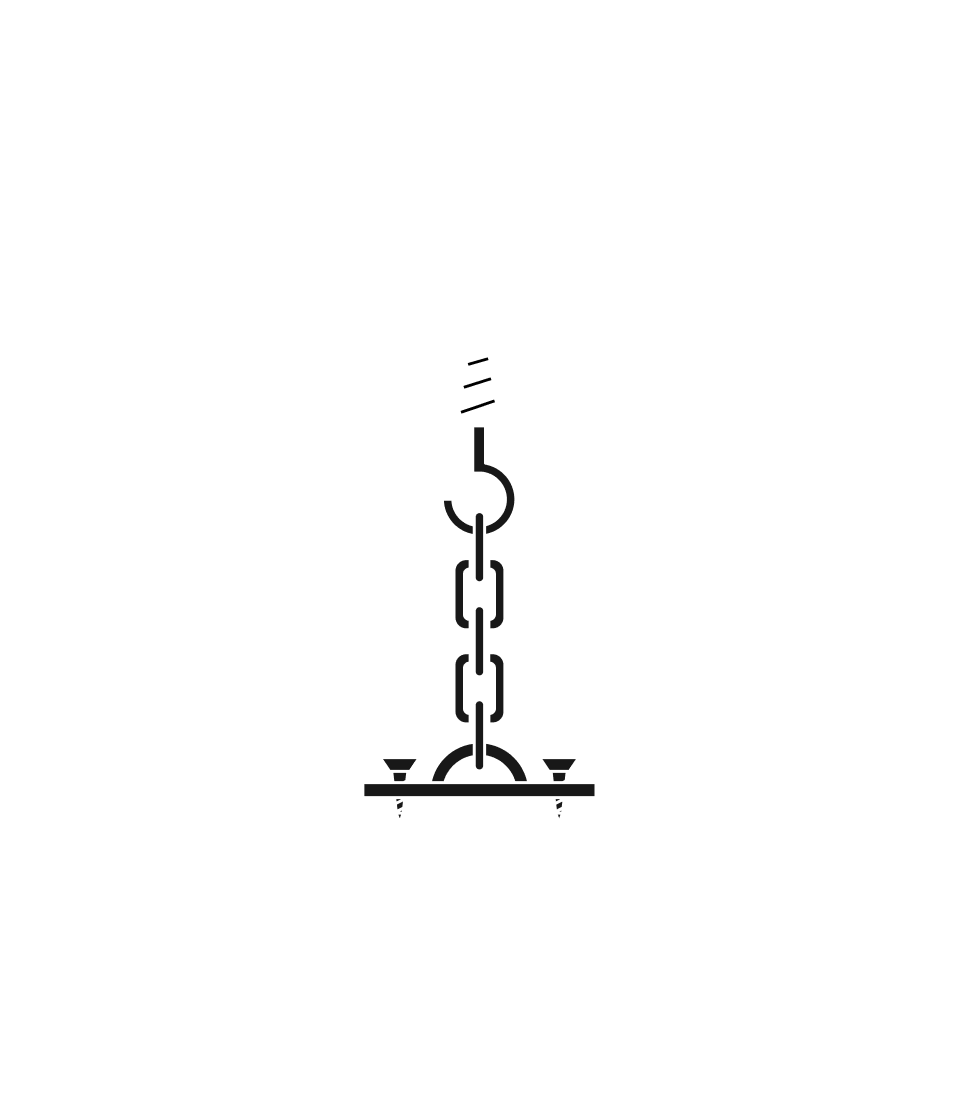
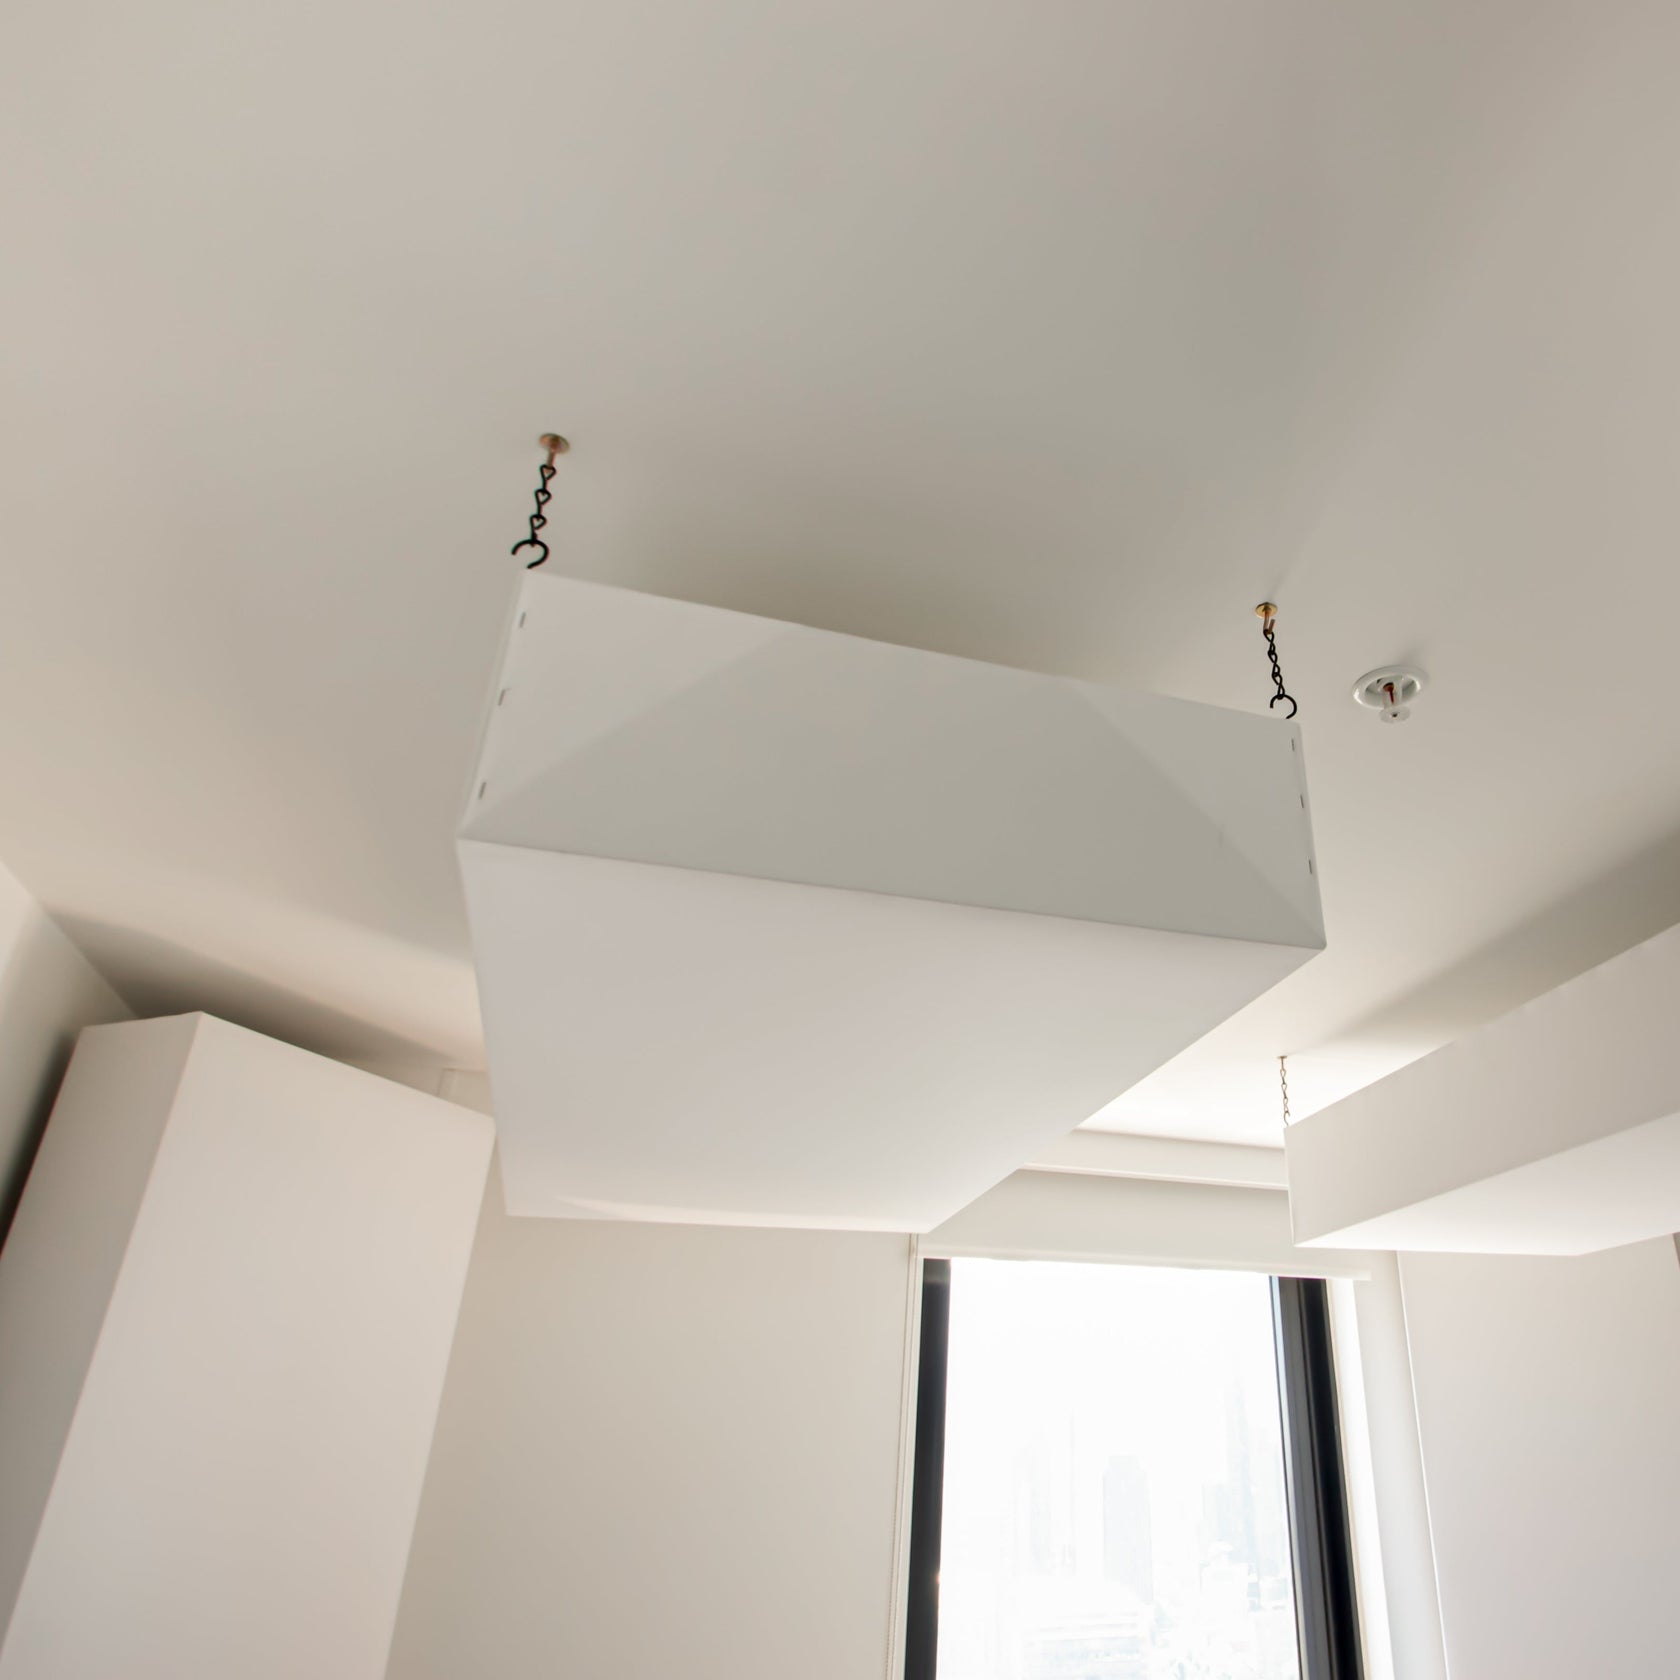
Note: the products will hang from chain at each corner of the product at the rear, see picture for details.
- Measure and mark out again from the wall, 1210mm (long end) down from the first mark or 580mm (short end) depending on the orientation of your product. Measure the distance between the two markings to confirm. This will be your second corner.
- If you have a laser line, point the line at the ceiling between the two markings, with the cross section at one of the marks (assuming it has a cross section). The lasers should be parallel with the walls.
If you don’t have a laser line, use a large square (with measurements on it) instead by holding the square in the same location.
- Measure out from the cross section your third corner. Again at 578mm or 1210mm depending on orientation.
- Move the laser or square to the third corner and repeat for the forth corner. Recheck the distance between all markings. You should have four marks in a rectangular shape a fraction smaller the size of the product.
- Drill a 5mm pilot hole for the four marked out holes into the plaster. If you hit a stud, you can screw the hook directly into it.
- Place the tip of the nylon screw into the hole and screw (PH3) in slowly until flush with the ceiling.
If there is too much resistance, drill a larger pilot hole to avoid breakage.
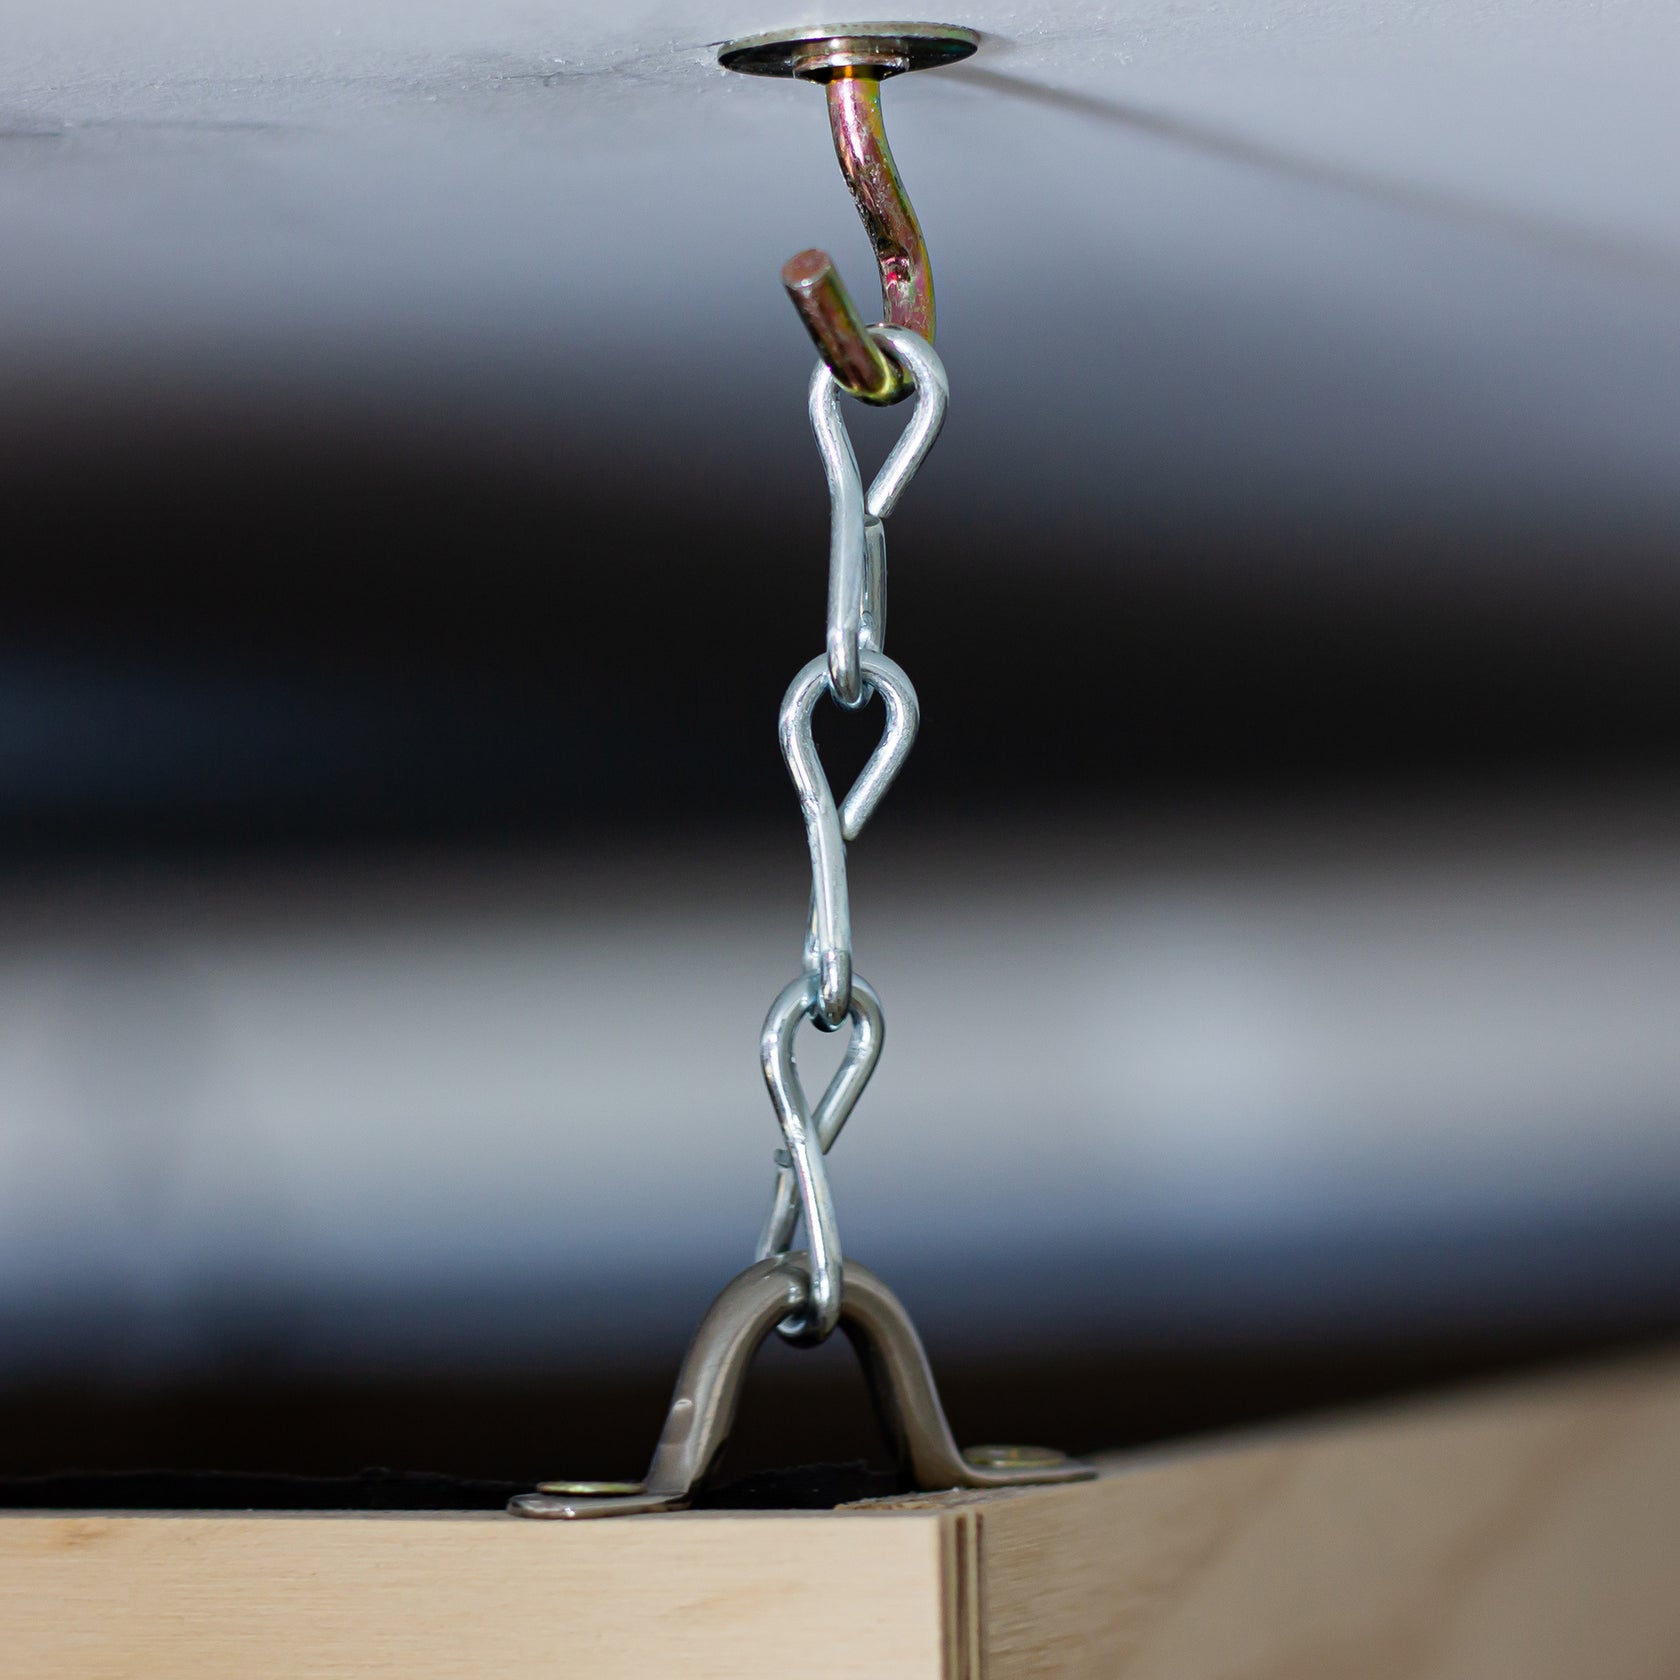
- Screw the cup hooks into the anchors and hang on a chain.
- On the rear of the product, drill a 2.5mm pilot hole centred on the frame, in each corner.
- Screw in the four remaining cup hooks into the pilot holes.
- Hang the product from one end first first and then the other.
If you would like someone to install your products for you, please refer to our ‘Services’ page.

