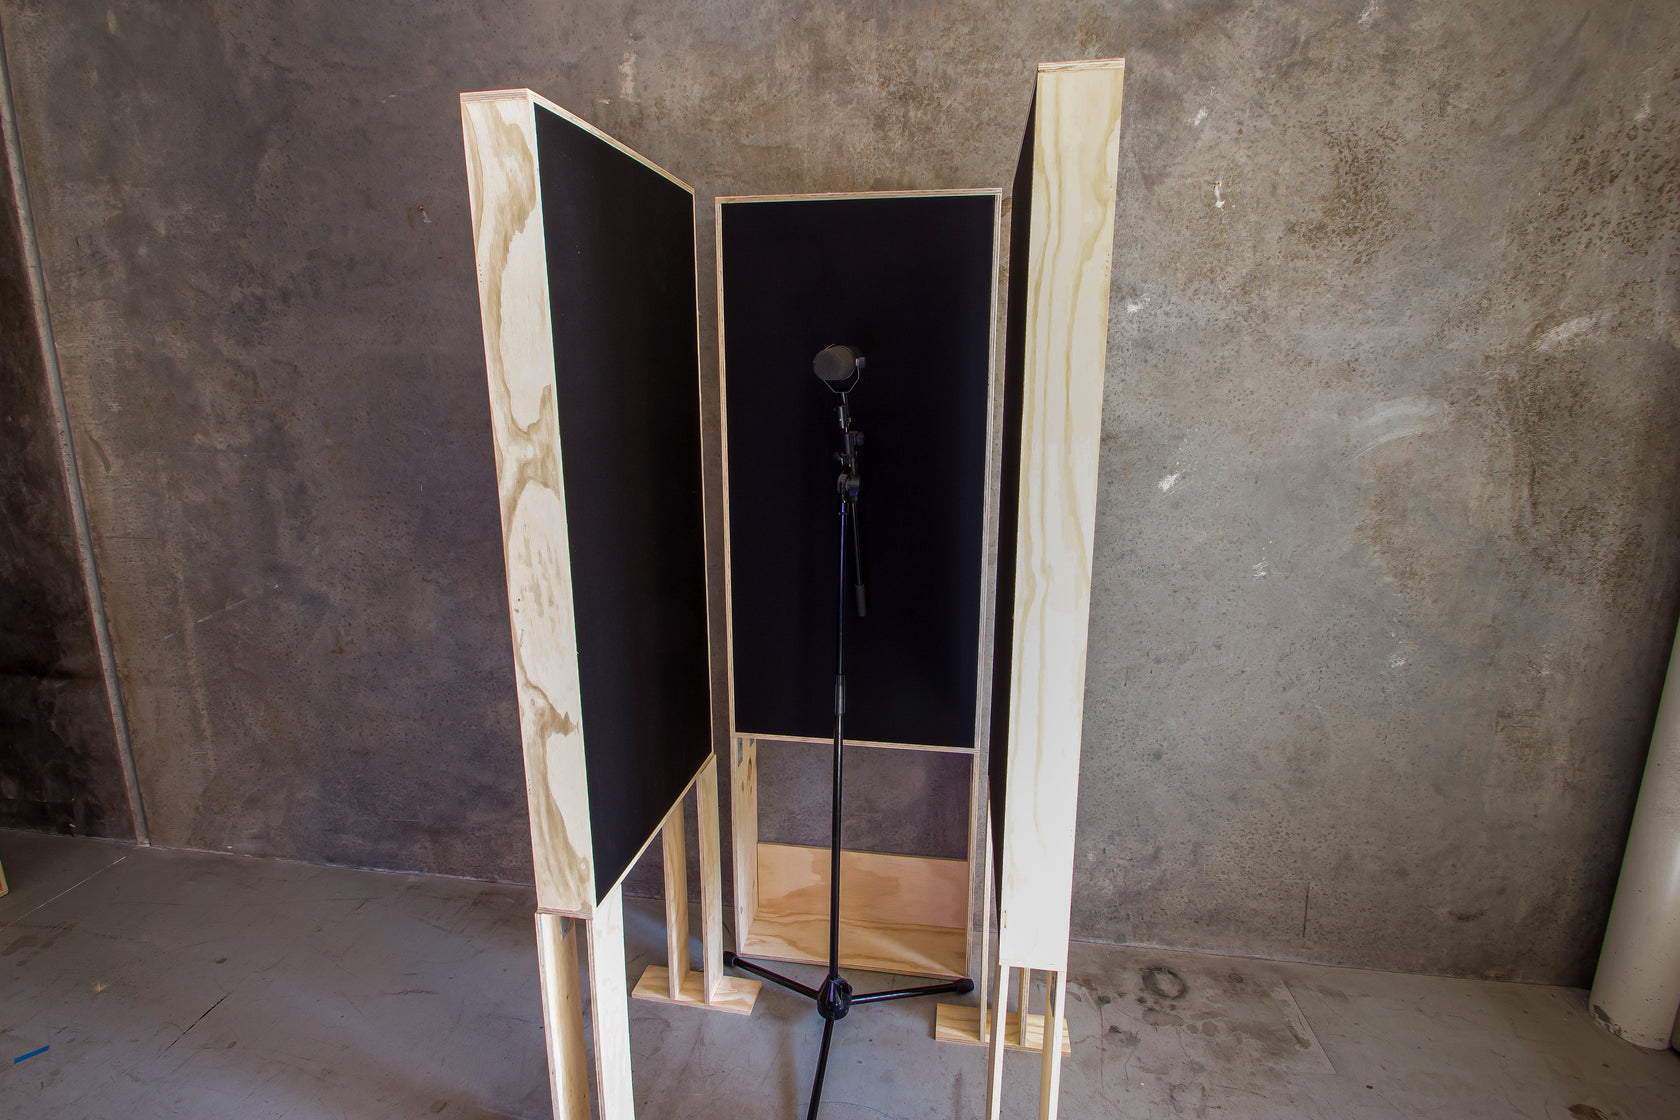
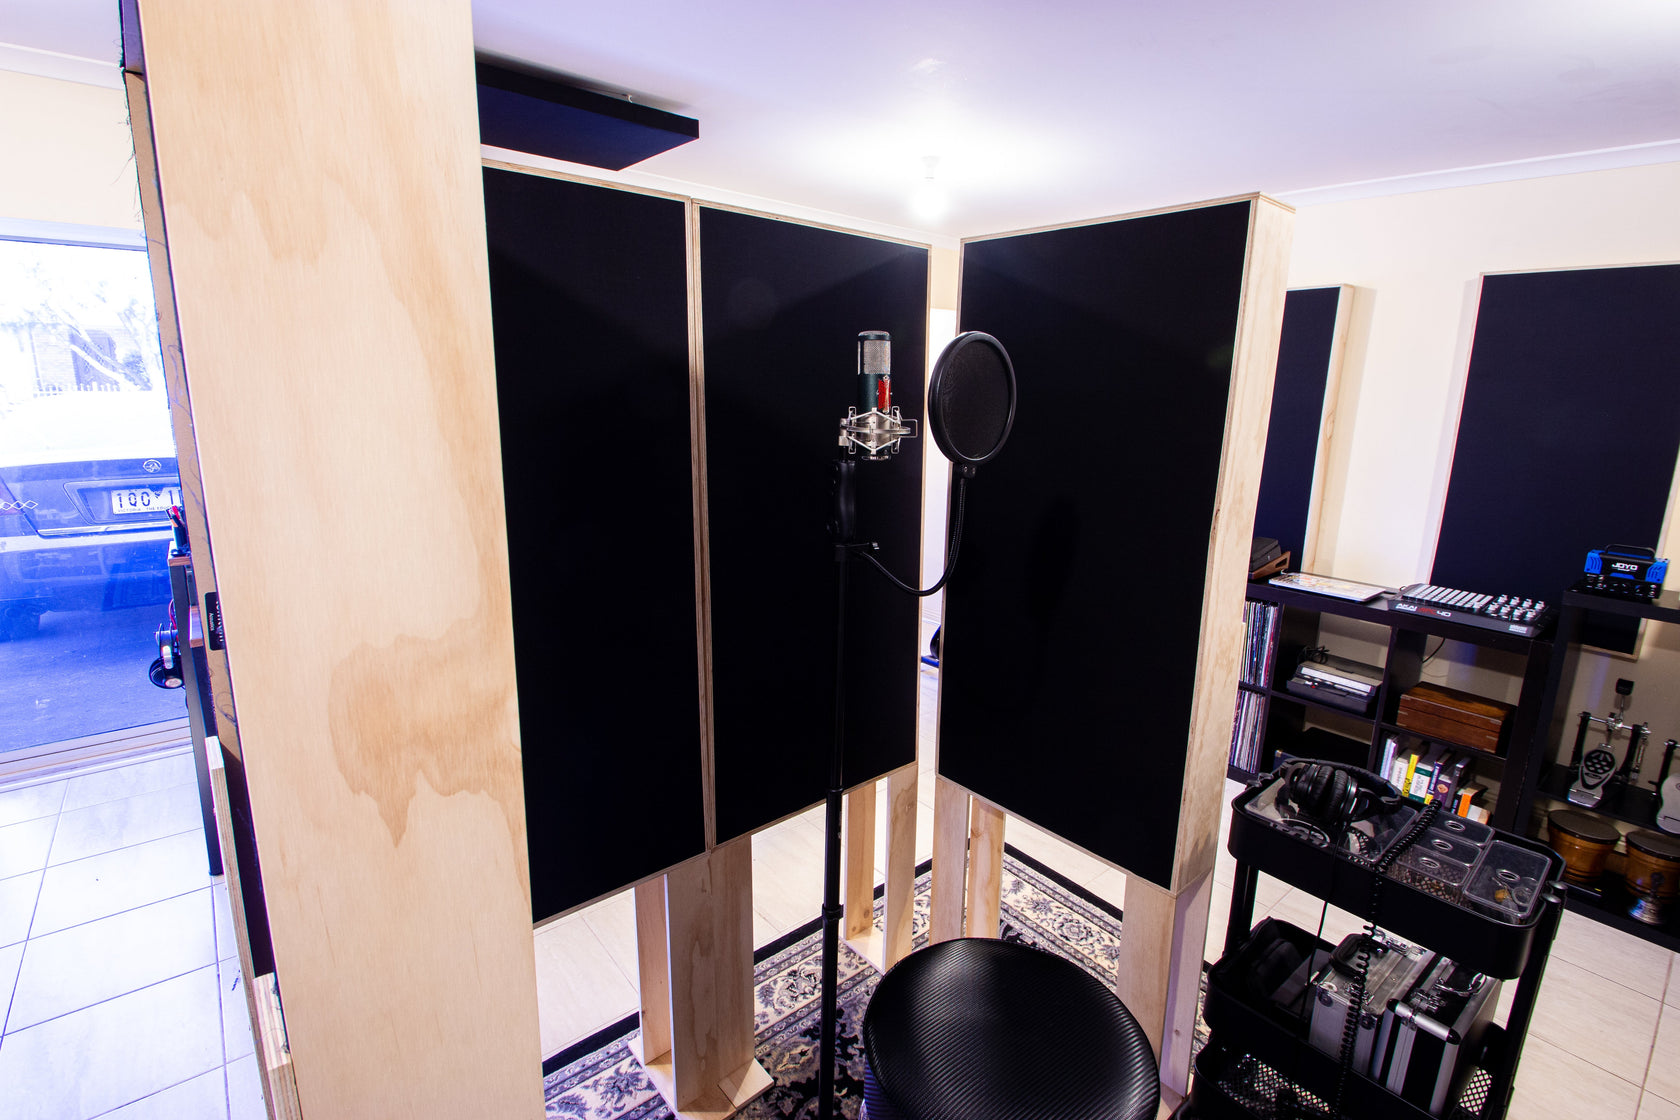
Free Standing Stand
$49.00 AUD
Select from the options above to view the appropriate ‘What’s Included’ and ‘Instructions’ below.
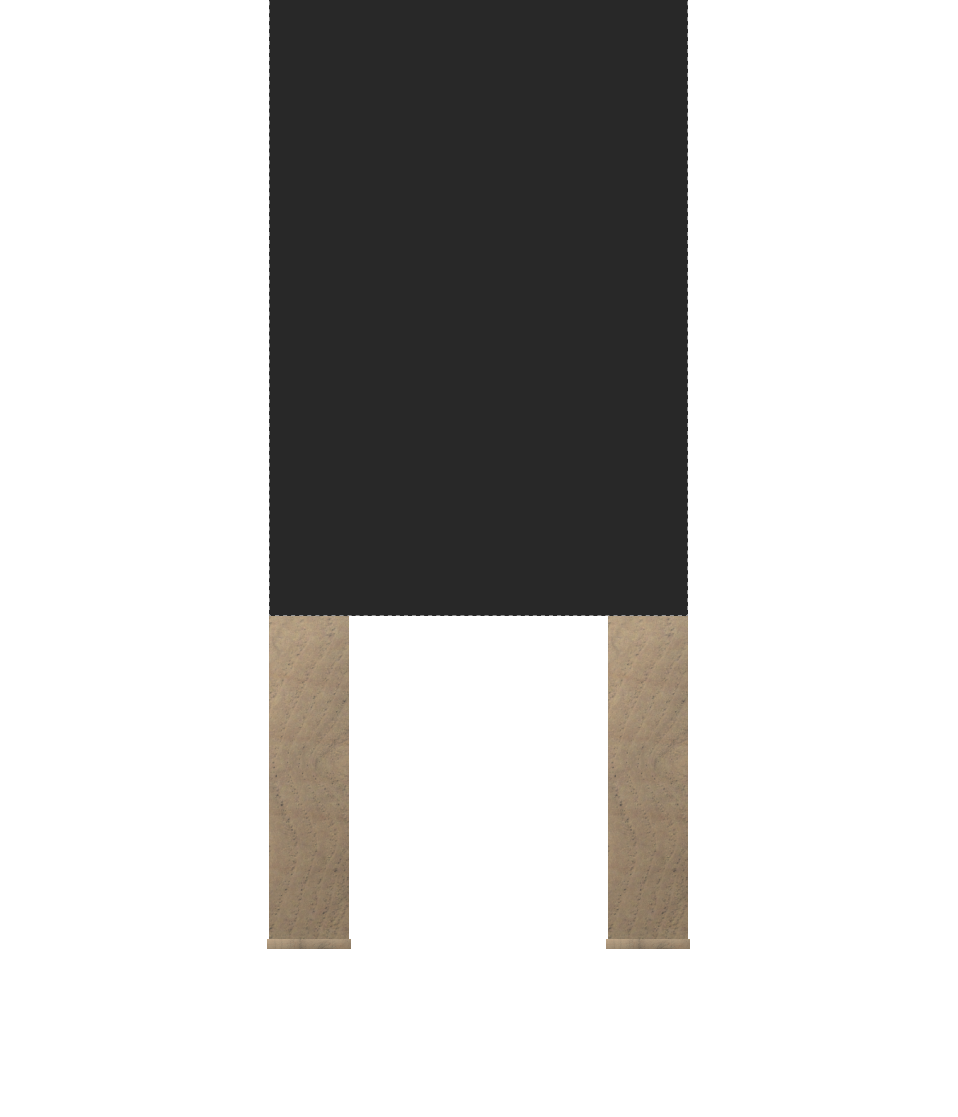
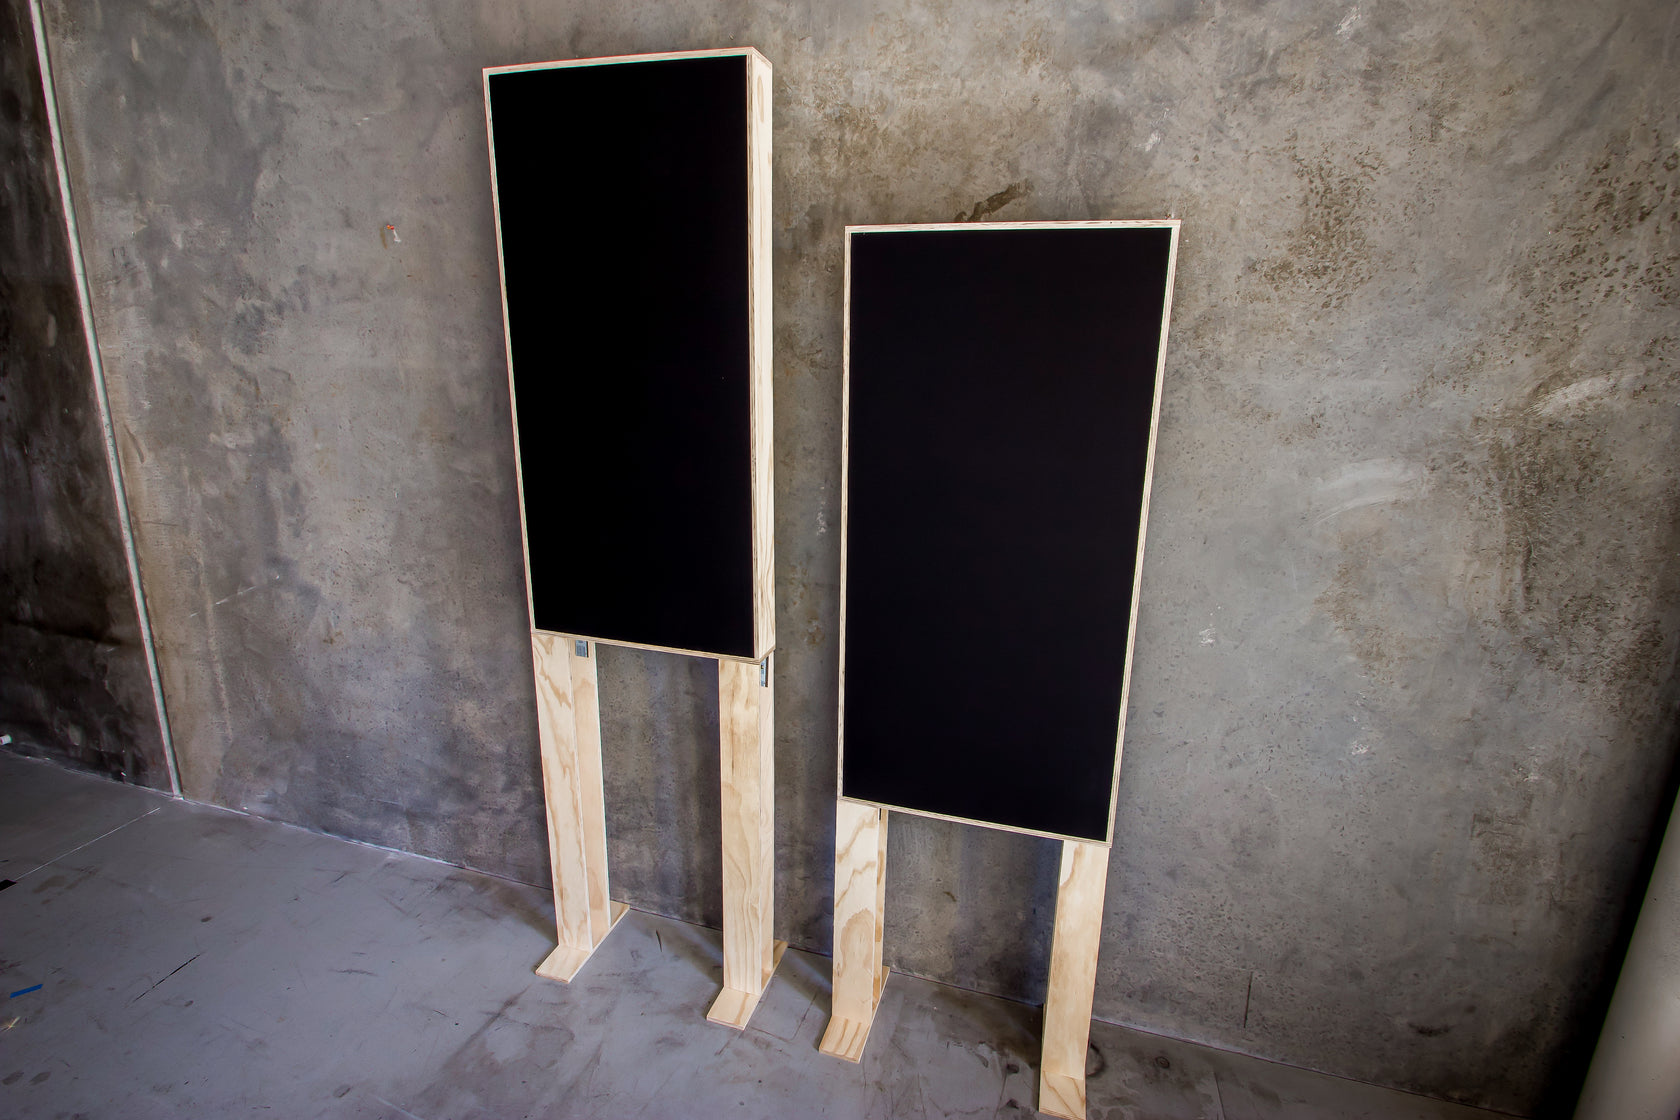
Our Stands range are designed to support a range of products where wall placement is not possible or more placement flexibility is needed. They are also useful to make portable vocal booths with the V Panels and Lite Panel.
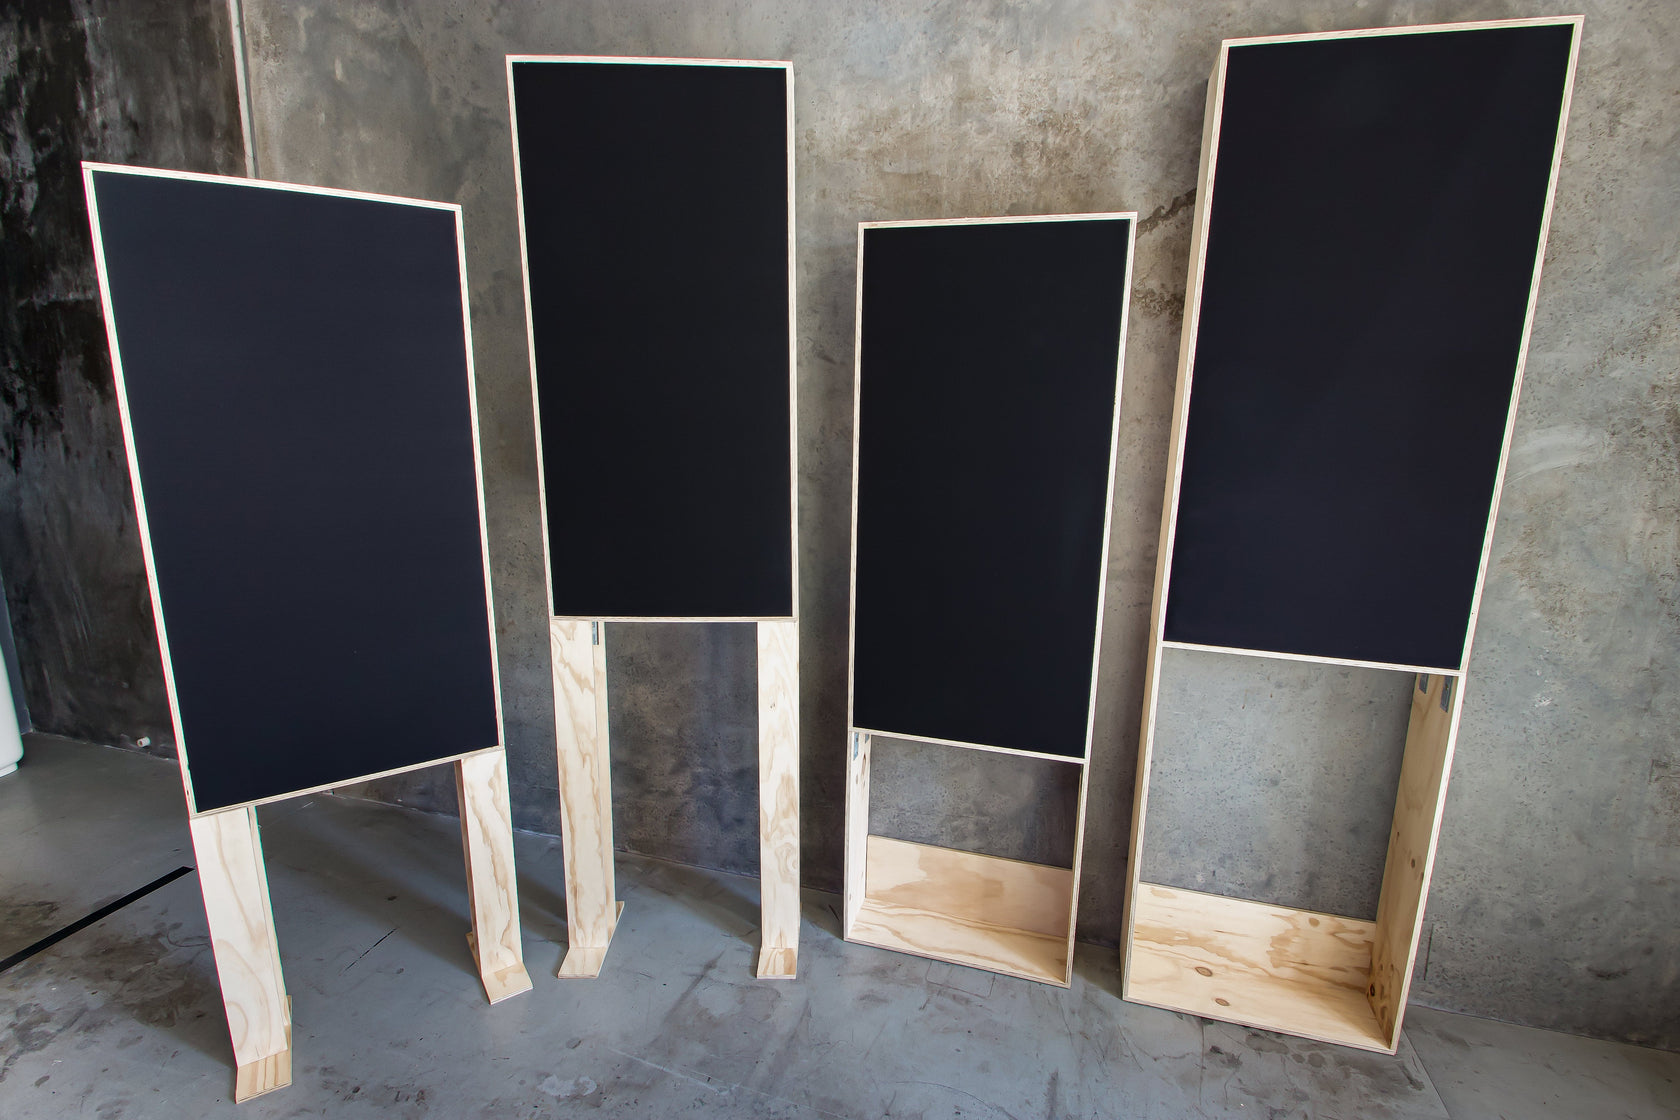
They come in two different heights:
- 612mm (recommended for 2.4-3m ceiling heights) &
- 912mm (recommended for 3m and above ceiling heights)
These heights will match those suggested in our hang kits range.
They also come in two varying types:
- Flush (sits flush against the wall only, no protruding legs) &
- Free Standing (can stand on its own anywhere in the room)
Both have their pros and cons and will suit a number of situations.
If you are getting our Local Delivery Service (Delivered by Verbox and not a courier), the Stands will come pre-assembled. If not, they will require assembling with the instructions below.
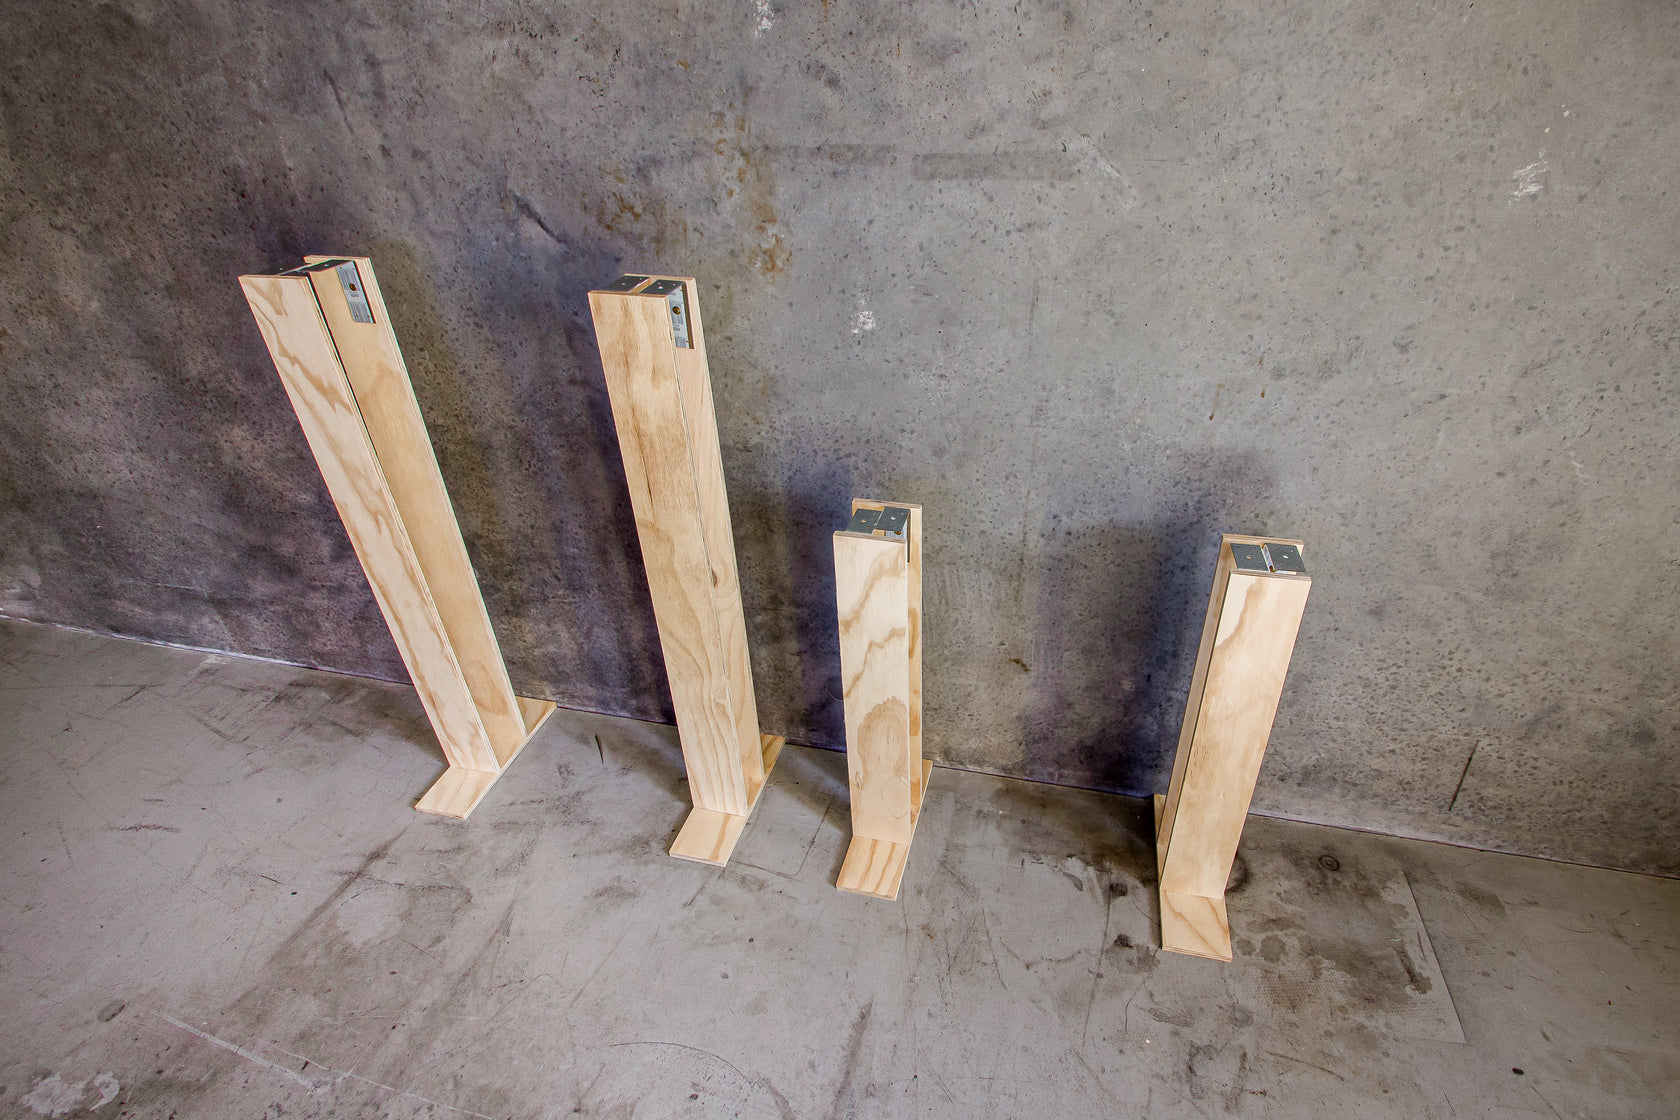
4x Support Legs
2x Feet
4x Metal Brackets
8x Short Screws
8x Long Screws
8x Felt Tabs
Please refer to the ‘Room Setup’ guide to determine suitable positioning of your products first.
Always ensure there are no electrical wires behind where you are drilling. Use a AC detecter if unsure.
Tools required: Electric drill or electric screw driver with a PH2 Phillips Head.
- Take a support leg and lie it flat on a table. Place a bracket, centred and flush at the top end (the bottom end has holes in it), with its longer section against the leg. (For Premiums, off-centre the bracket to the left so the two brackets dont collide).
- Repeat for all support legs.
- Place 2x support legs side by side on a table with the brackets facing inwards (they should almost be next to each other for Premiums), and 1x foot down the bottom lined up with the holes.
- Screw in 4x long screws holding the pieces together to make one completed leg.
- Repeat for the second completed leg.
- Place a product (V Panel etc.) on the ground and sit the two completed legs upside down on top towards the edges.
- Line the legs up with the edges of the product and screw the brackets into the product with the remaining short screws.
- Place a felt tab in the corner of each foot.
Turn the product up right and place in position.
If you would like someone to install your products for you, please refer to our ‘Services’ page.

