Stack Kit
$5.00 AUD
Select from the options above to view the appropriate ‘What’s Included’ and ‘Instructions’ below.
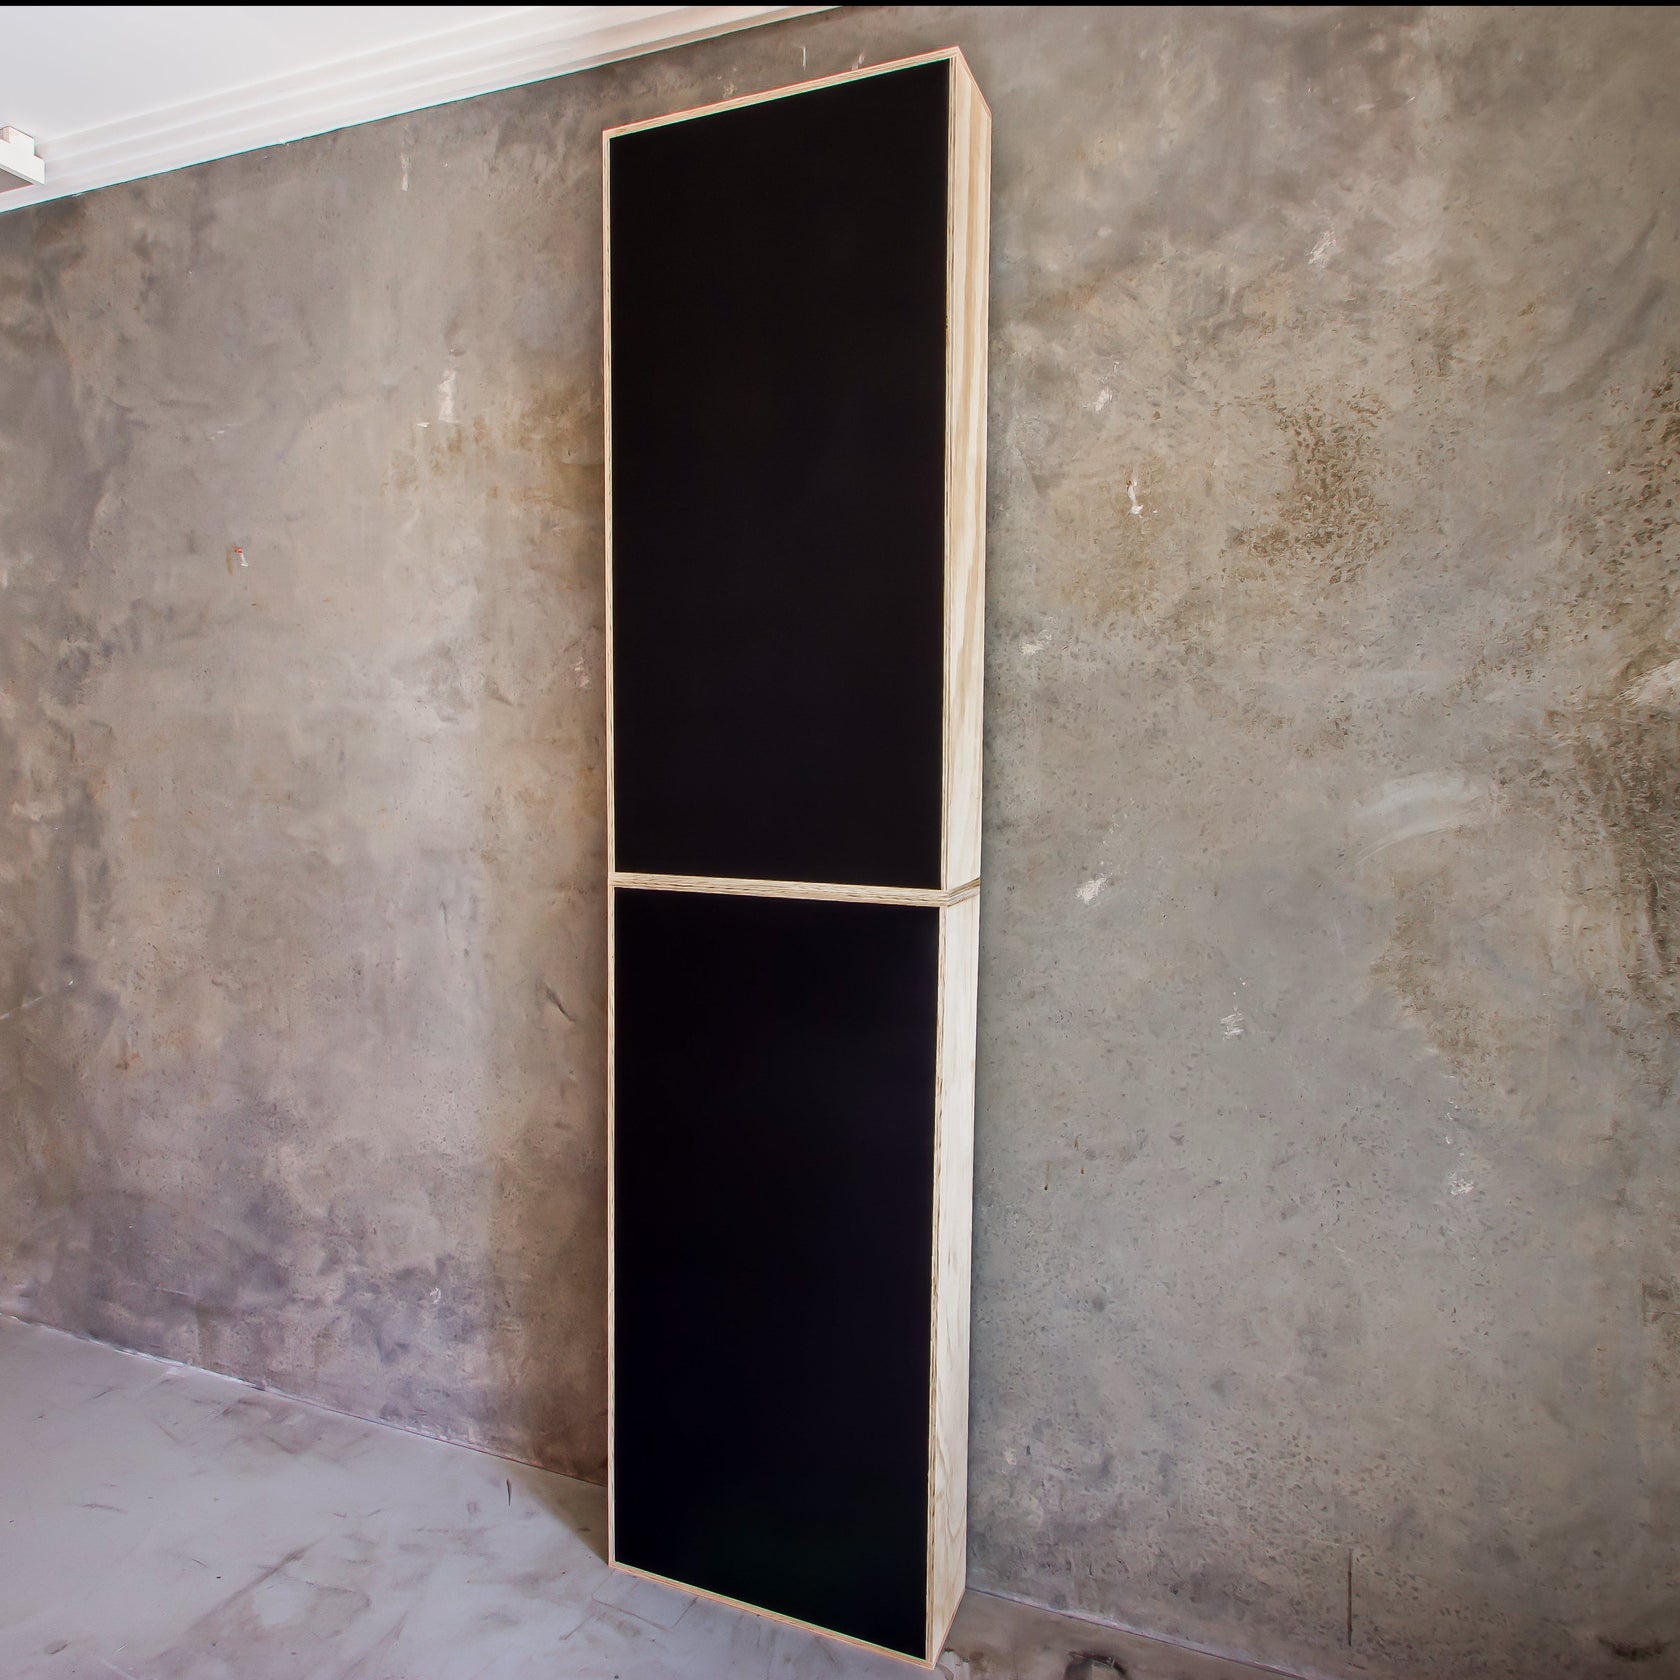
The Stack Kit is designed to sturdily stack a number of products in a number of ways, mainly across corners and against walls. This is a great solution for renters that want to avoid putting holes in the walls.
The kits consist of joining side plates, a push-back strip to tilt the products back against the wall and additional wall support fixings to secure to the wall if necessary.
Stacking advice:
- Only stack 2x vertically and max. 4x horizontally
- V Panels and Binary Diffusers can be stacked without wall support fixings (see below)
- All other products MUST be stacked with wall support fixings
- Not to be used with Lite Panels
Please use common sense when using this product. If you are unsure, please contact us.
Please note: If you do not use the additional 'wall support fixings', it is not recommended to use this product if a strong breeze can enter the room, if the carpet is soft or if the room has access to pets or children. As they are simply leaning against the wall, this can be a major hazard. Please use at your own risk.
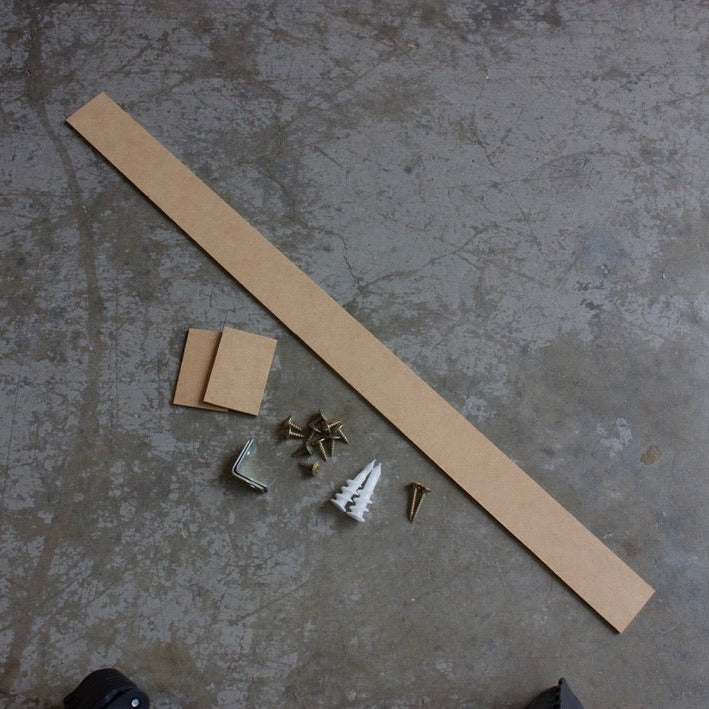
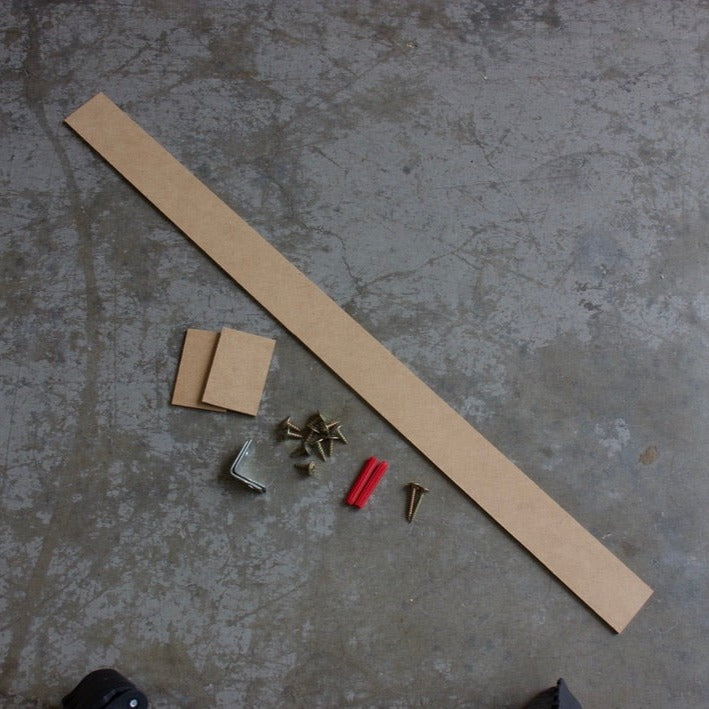
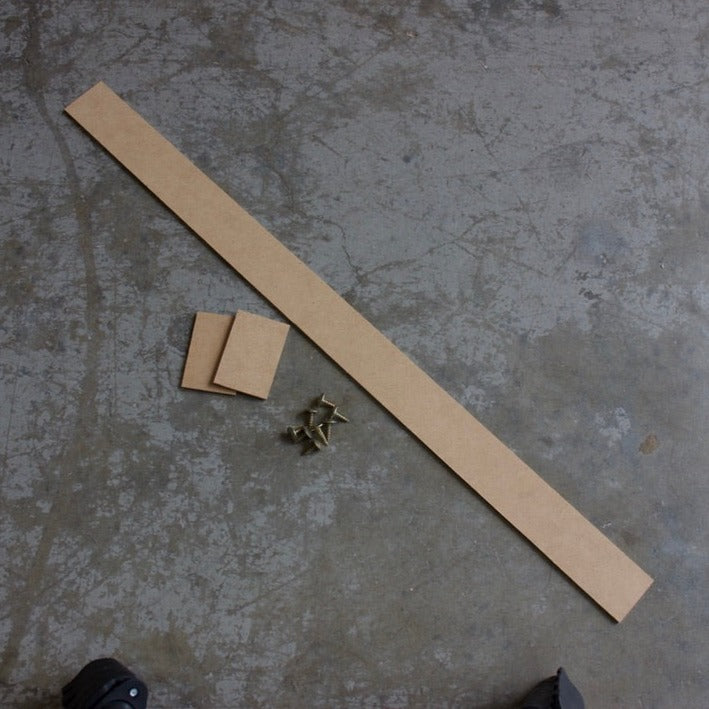
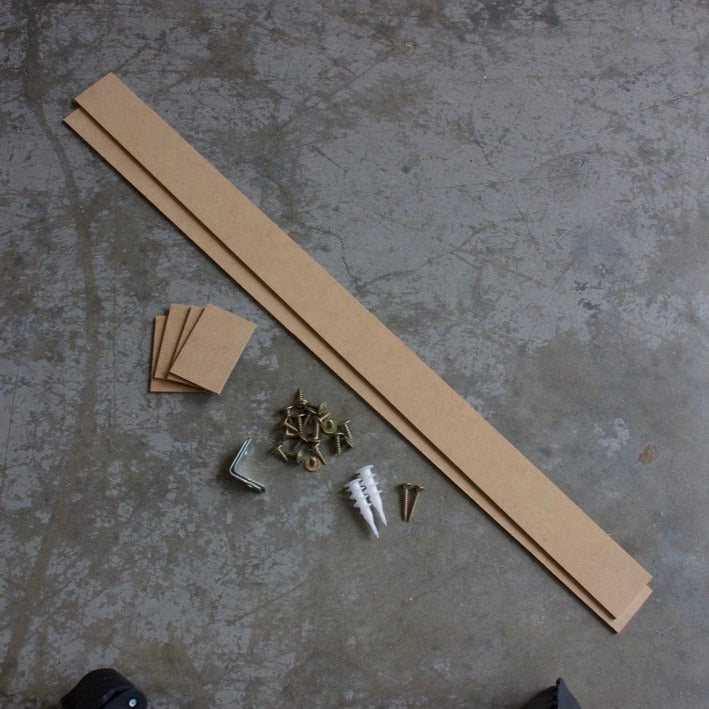
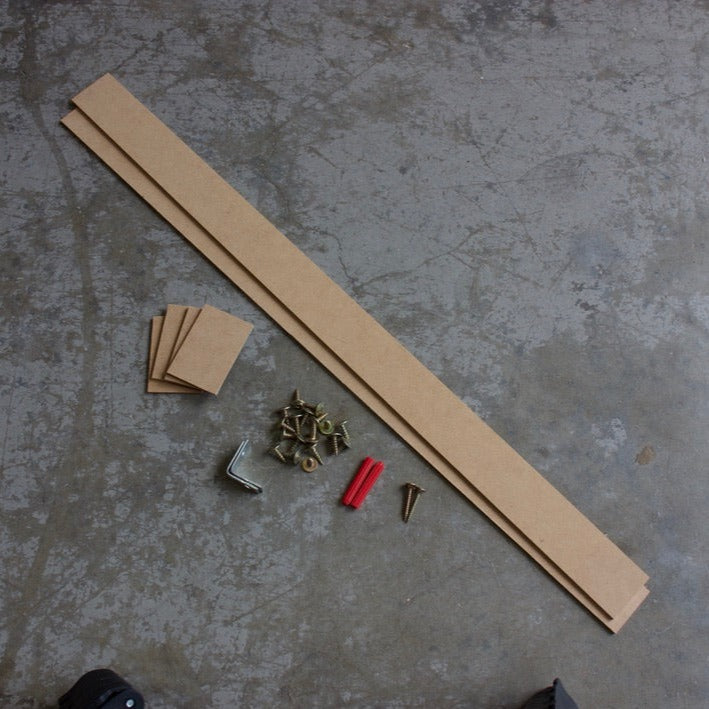
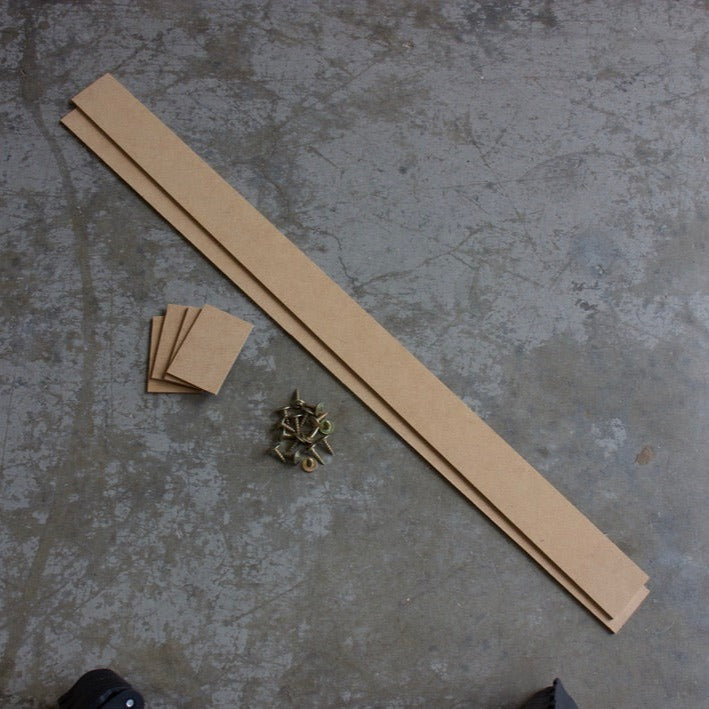
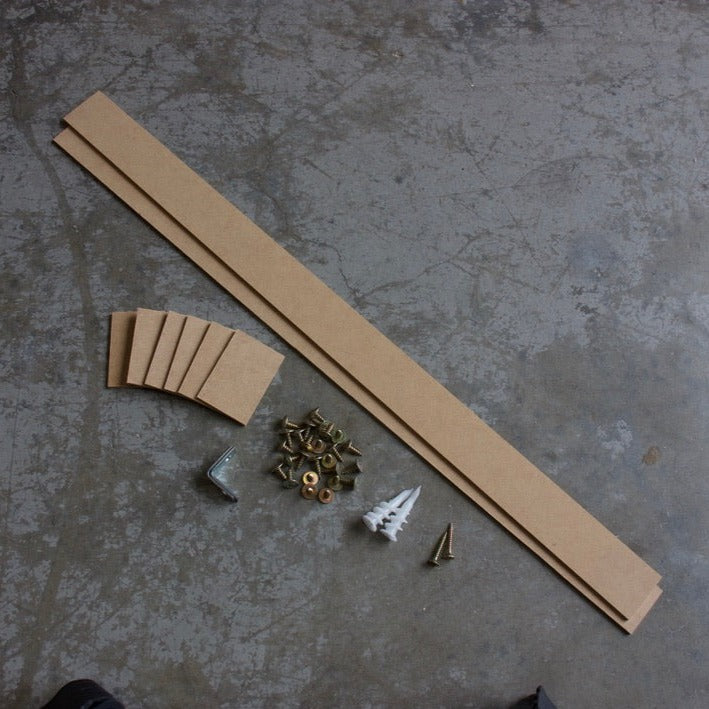
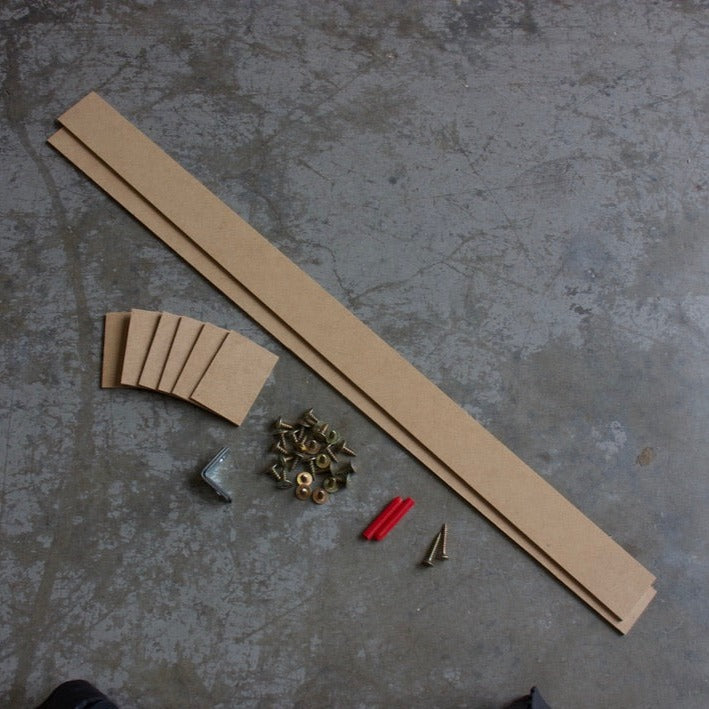
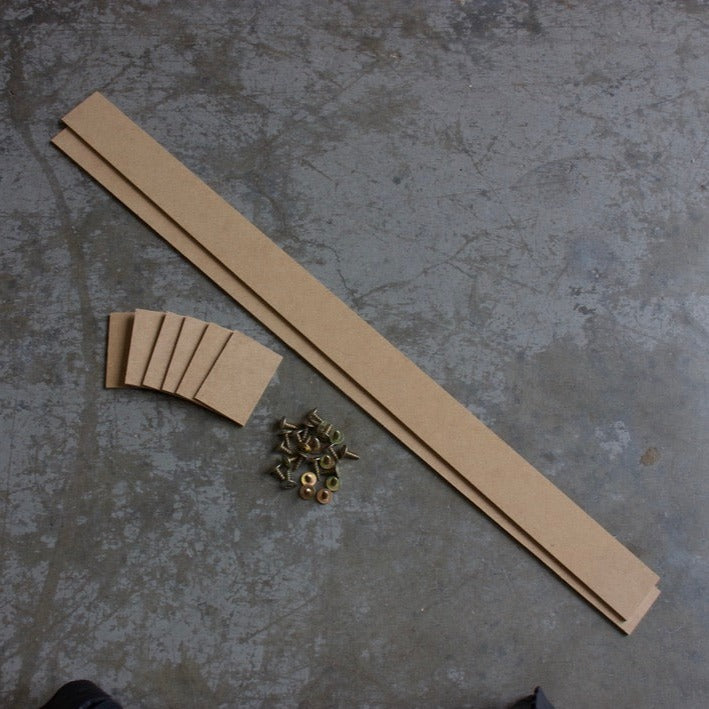
2x Flat MDF Brackets
10x Short Screws
1x Push Back Strip
2x Small L Brackets
2x Nylon Screws
2x Medium Screws
Purchase 1x kit per stack.
Please refer to the ‘Room Setup’ guide to determine suitable positioning of your products first.
Always ensure there are no electrical wires behind where you are drilling. Use a AC detecter if unsure.
Tools required: Pencil, Electric drill, 5mm drill bit, PH2 and PH3 Phillips Head.
- Place the product against the wall or corner in the desired location, then stack additional products on top. Refer to stacking advice above.
- Take a joining plate and place it evenly on the side between the two products.
- Screw a short screw in each corner of the bracket (2x into each product).
- Repeat for the opposite side and additional stacks if required.
- Place the ‘push-back’ strip(s) under the front of the bottom product.
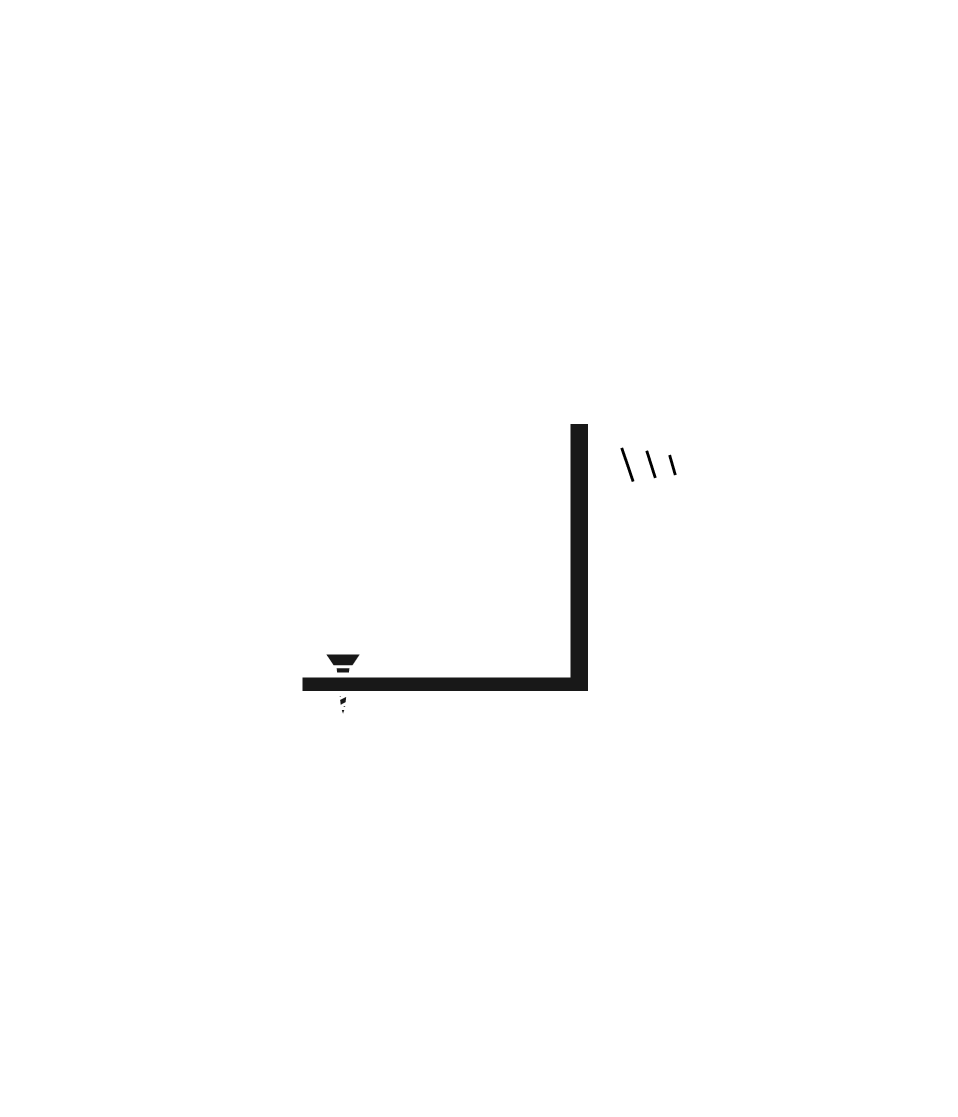
- Place the 2x brackets on the top of the stack against the wall about 500mm apart for vertical stack and 1100mm apart for horizontal stack. If the stack placement is straddling a corner, place the brackets where the corners meet the walls.
- Mark the bracket holes where they sit against the wall and drill a 5mm hole on both marks.
- Screw (PH3) the nylon screws into the holes, then screw (PH2) the medium screws into the brackets/wall and the short screws the bracket/stack.
If you would like someone to install your products for you, please refer to our ‘Services’ page.

