
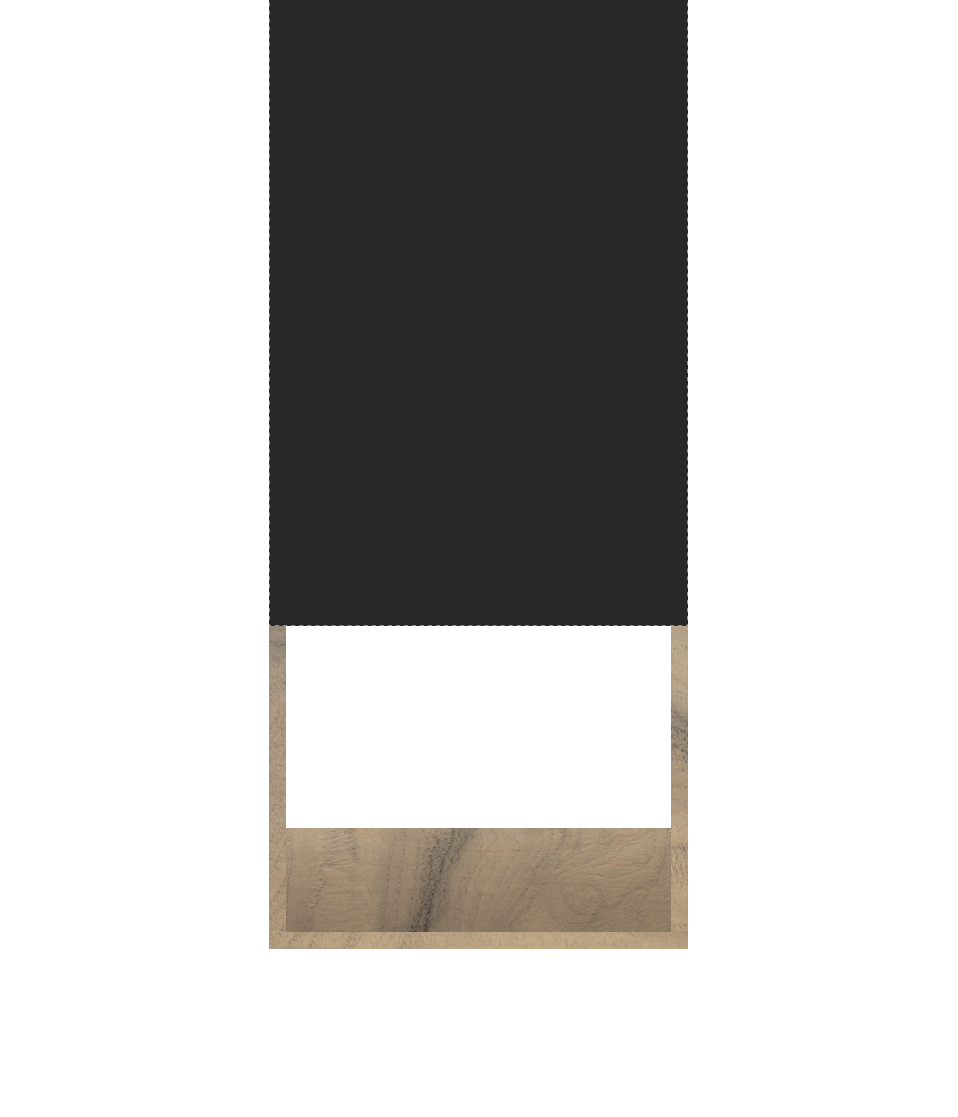
Flush Stand
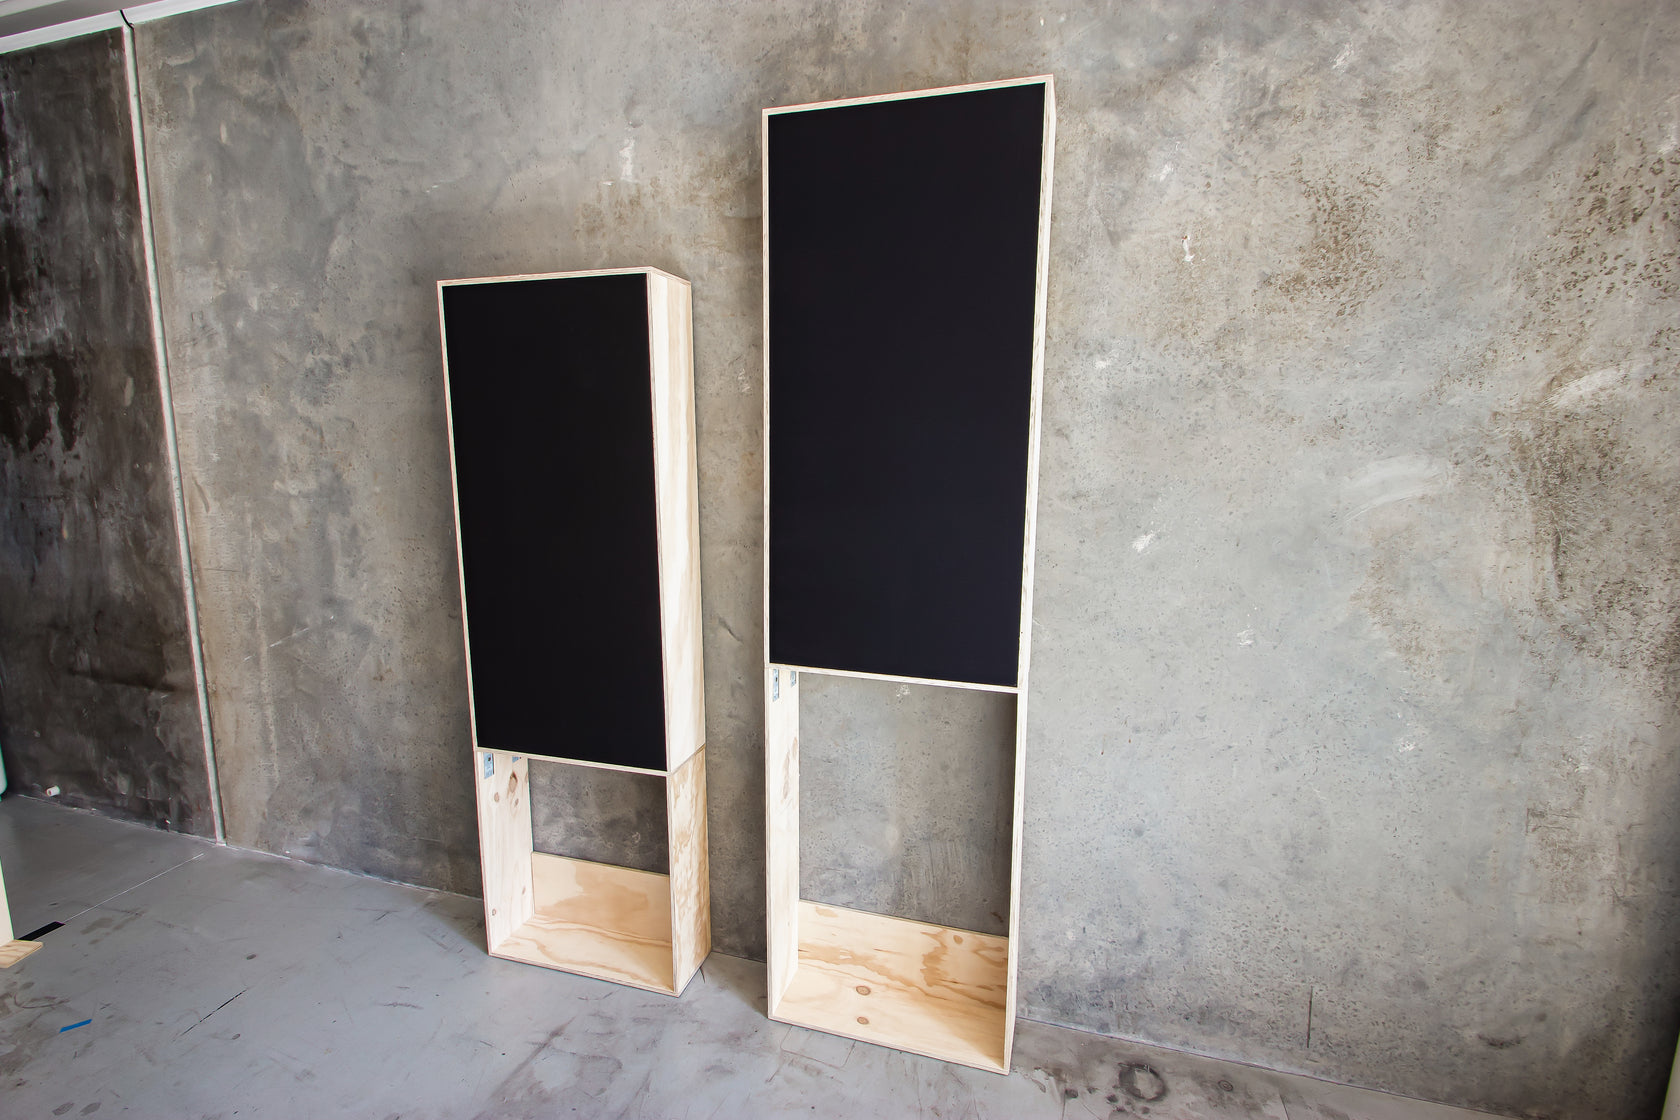
Flush Stands 612mm (left) & 912mm (right)
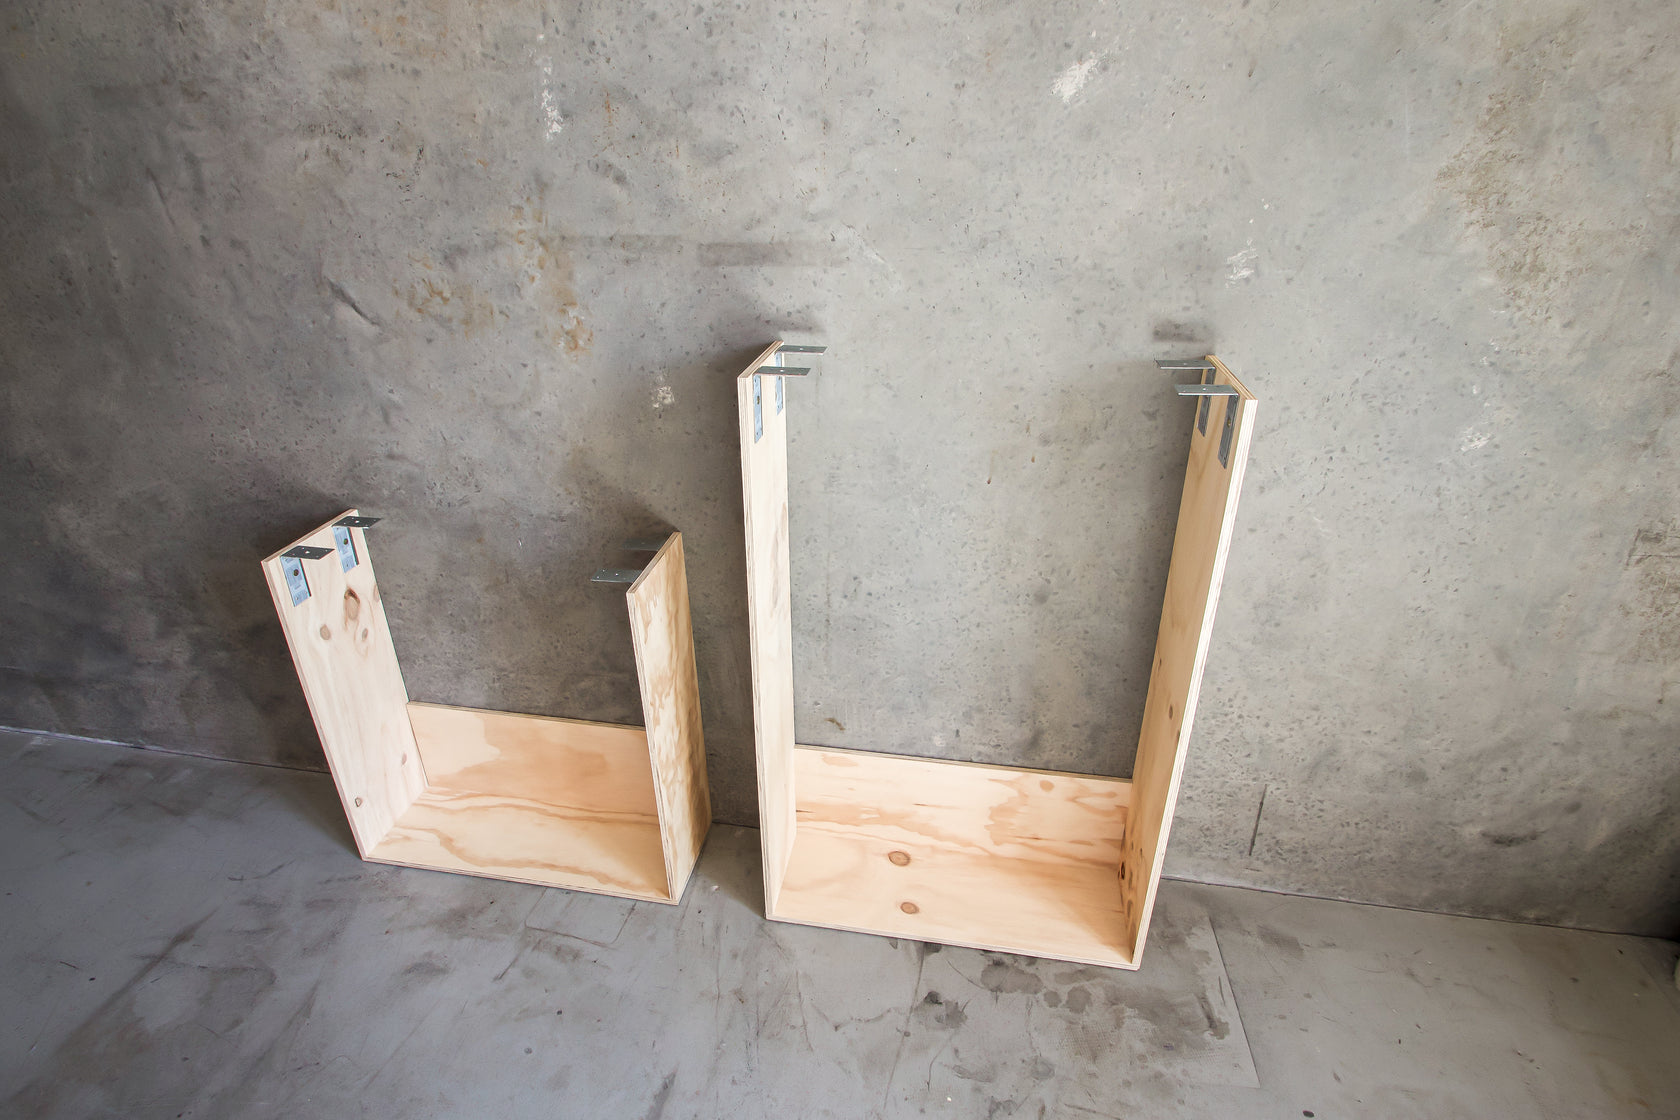
Flush Stands 612mm & 912mm
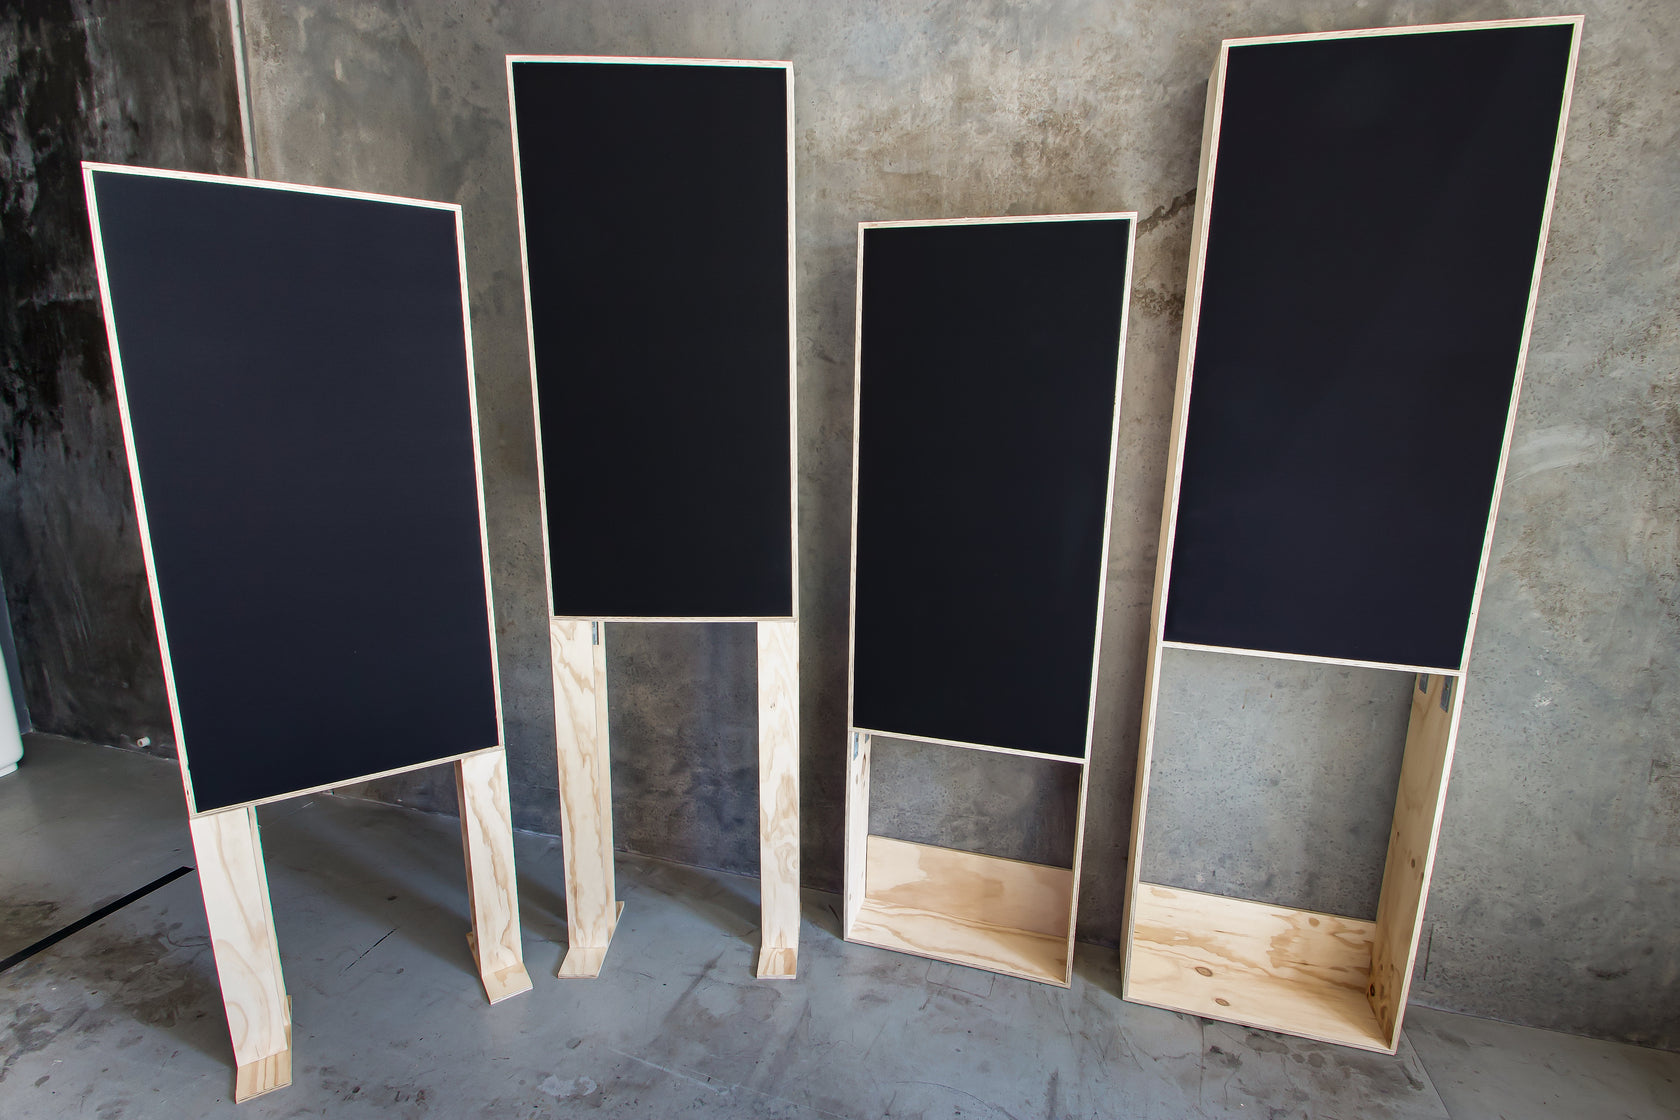
Free Standing (left) & Flush Stands (right)
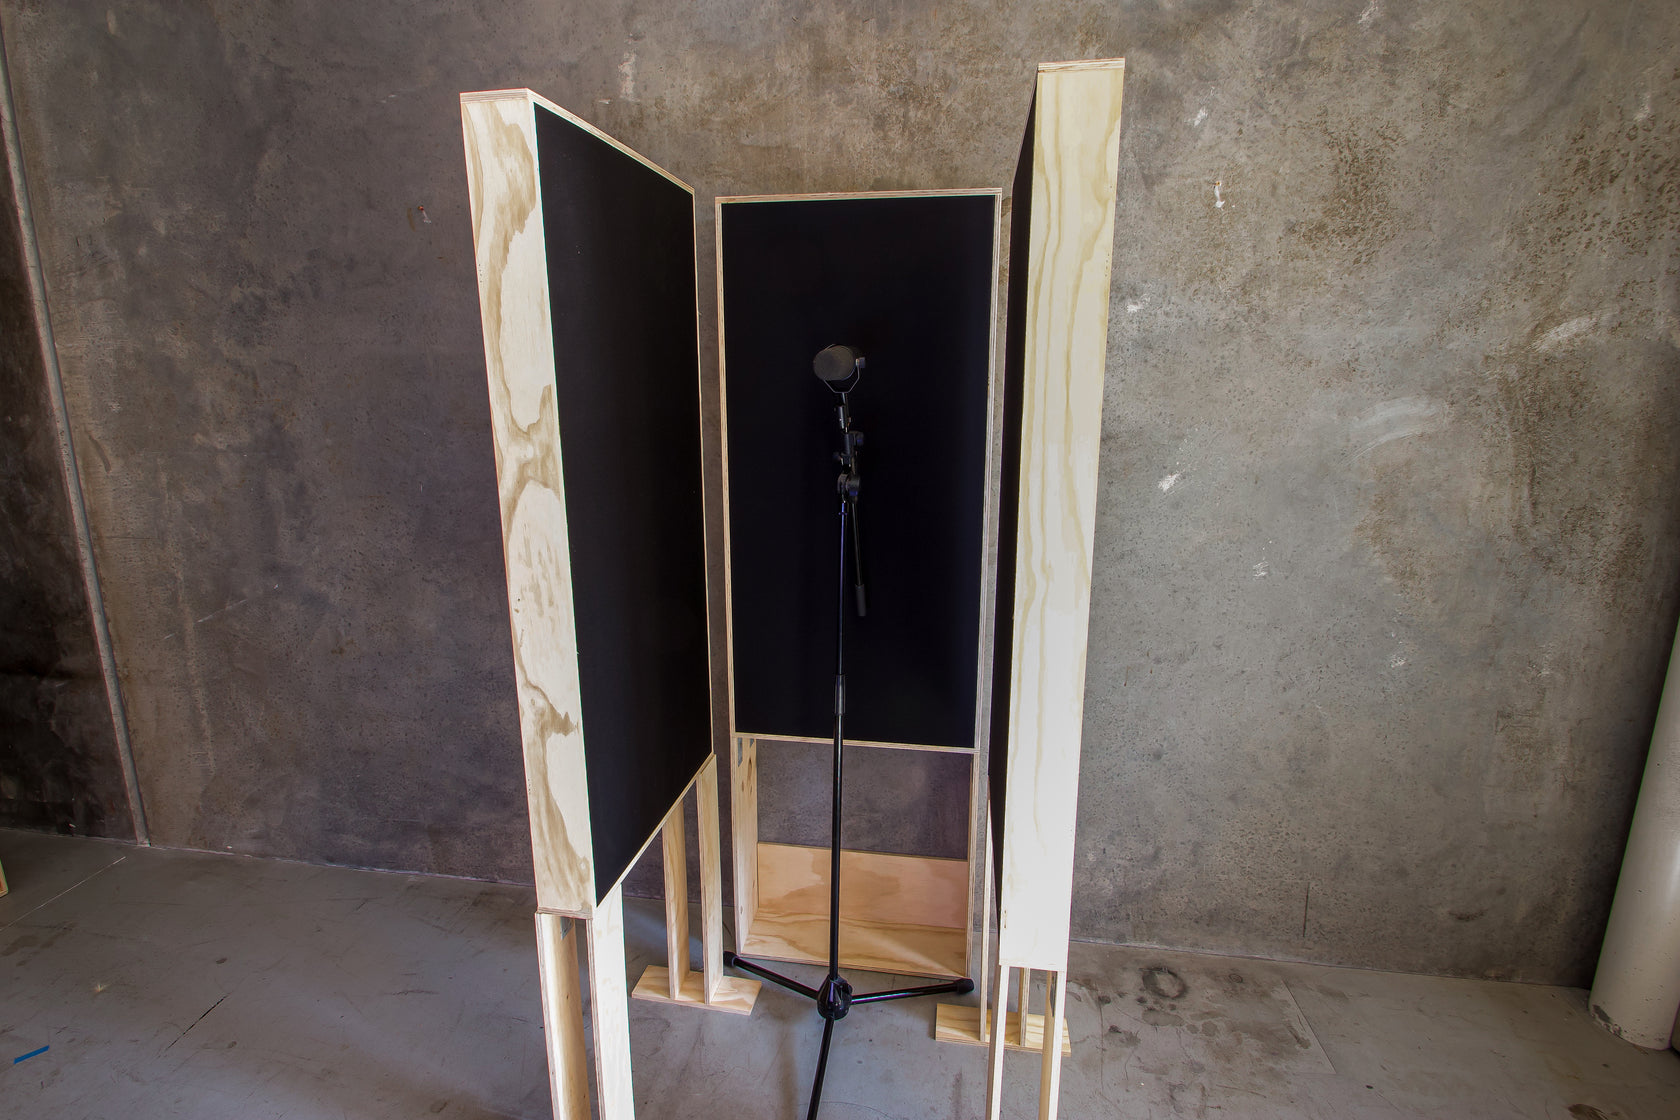
Flush and Free Standing to make vocal booth
Flush Stand
$49.00 AUD
Our Stands range are designed to support a range of products where wall placement is not possible or more placement flexibility is needed. They are also useful to make portable vocal booths with the V Panels and Lite Panel.
They come in two different heights:
- 610mm (recommended for 2.4-3m ceiling heights) &
- 910mm (recommended for 3m and above ceiling heights)
They also come in two varying types:
- Flush (sits flush against the wall only, no protruding legs) &
- Free Standing (can stand on its own anywhere in the room)
If you are getting our Local Delivery Service (Delivered by Verbox and not a courier), the Stands will come pre-assembled. If not, they will require assembling with the instructions below.
2x Side Supports
2x Metal Brackets
4x Short Screws
1x Base Plate
1x Back Support
10x Long Screws
1x Push Back Strip
3x Small Screws
4x Felt Tabs
Please refer to the ‘Room Setup’ guide to determine suitable positioning of your products first.
Always ensure there are no electrical wires behind where you are drilling. Use a AC detecter if unsure.
Tools required: Electric drill or electric screwdriver with a PH2 Phillips Head.
- Hold the base plate and a side support at a right angle to one another on their sides on a table, lining up the holes.
- Take two long screws and screw the two pieces together.
- Repeat for second side support.
- Place the back support in-between all three pieces and screw in the six remaining long screws.
- Attach the brackets, centred at the top inside ends of the side supports. Use one screw in the centre of each bracket. (1x on each side for Premium products, 2x on each for all other products.)
- Place the product (intended for the stand) on the ground and sit the stand upside down on top (the back support should be towards the back).
- With the remaining short screws, screw the brackets into the product.
- Place the push back strip towards the front on the base and screw in the 3x small screws evenly across to secure.
- Place a felt tab in each corner.
- Turn the product up right, place in position and slide the push back strip underneath the front.
If you would like someone to install your products for you, please refer to our ‘Services’ page.