Vertical Ceiling Hang Kit
$5.00 AUD
Select from the options above to view the appropriate ‘What’s Included’ and ‘Instructions’ below.
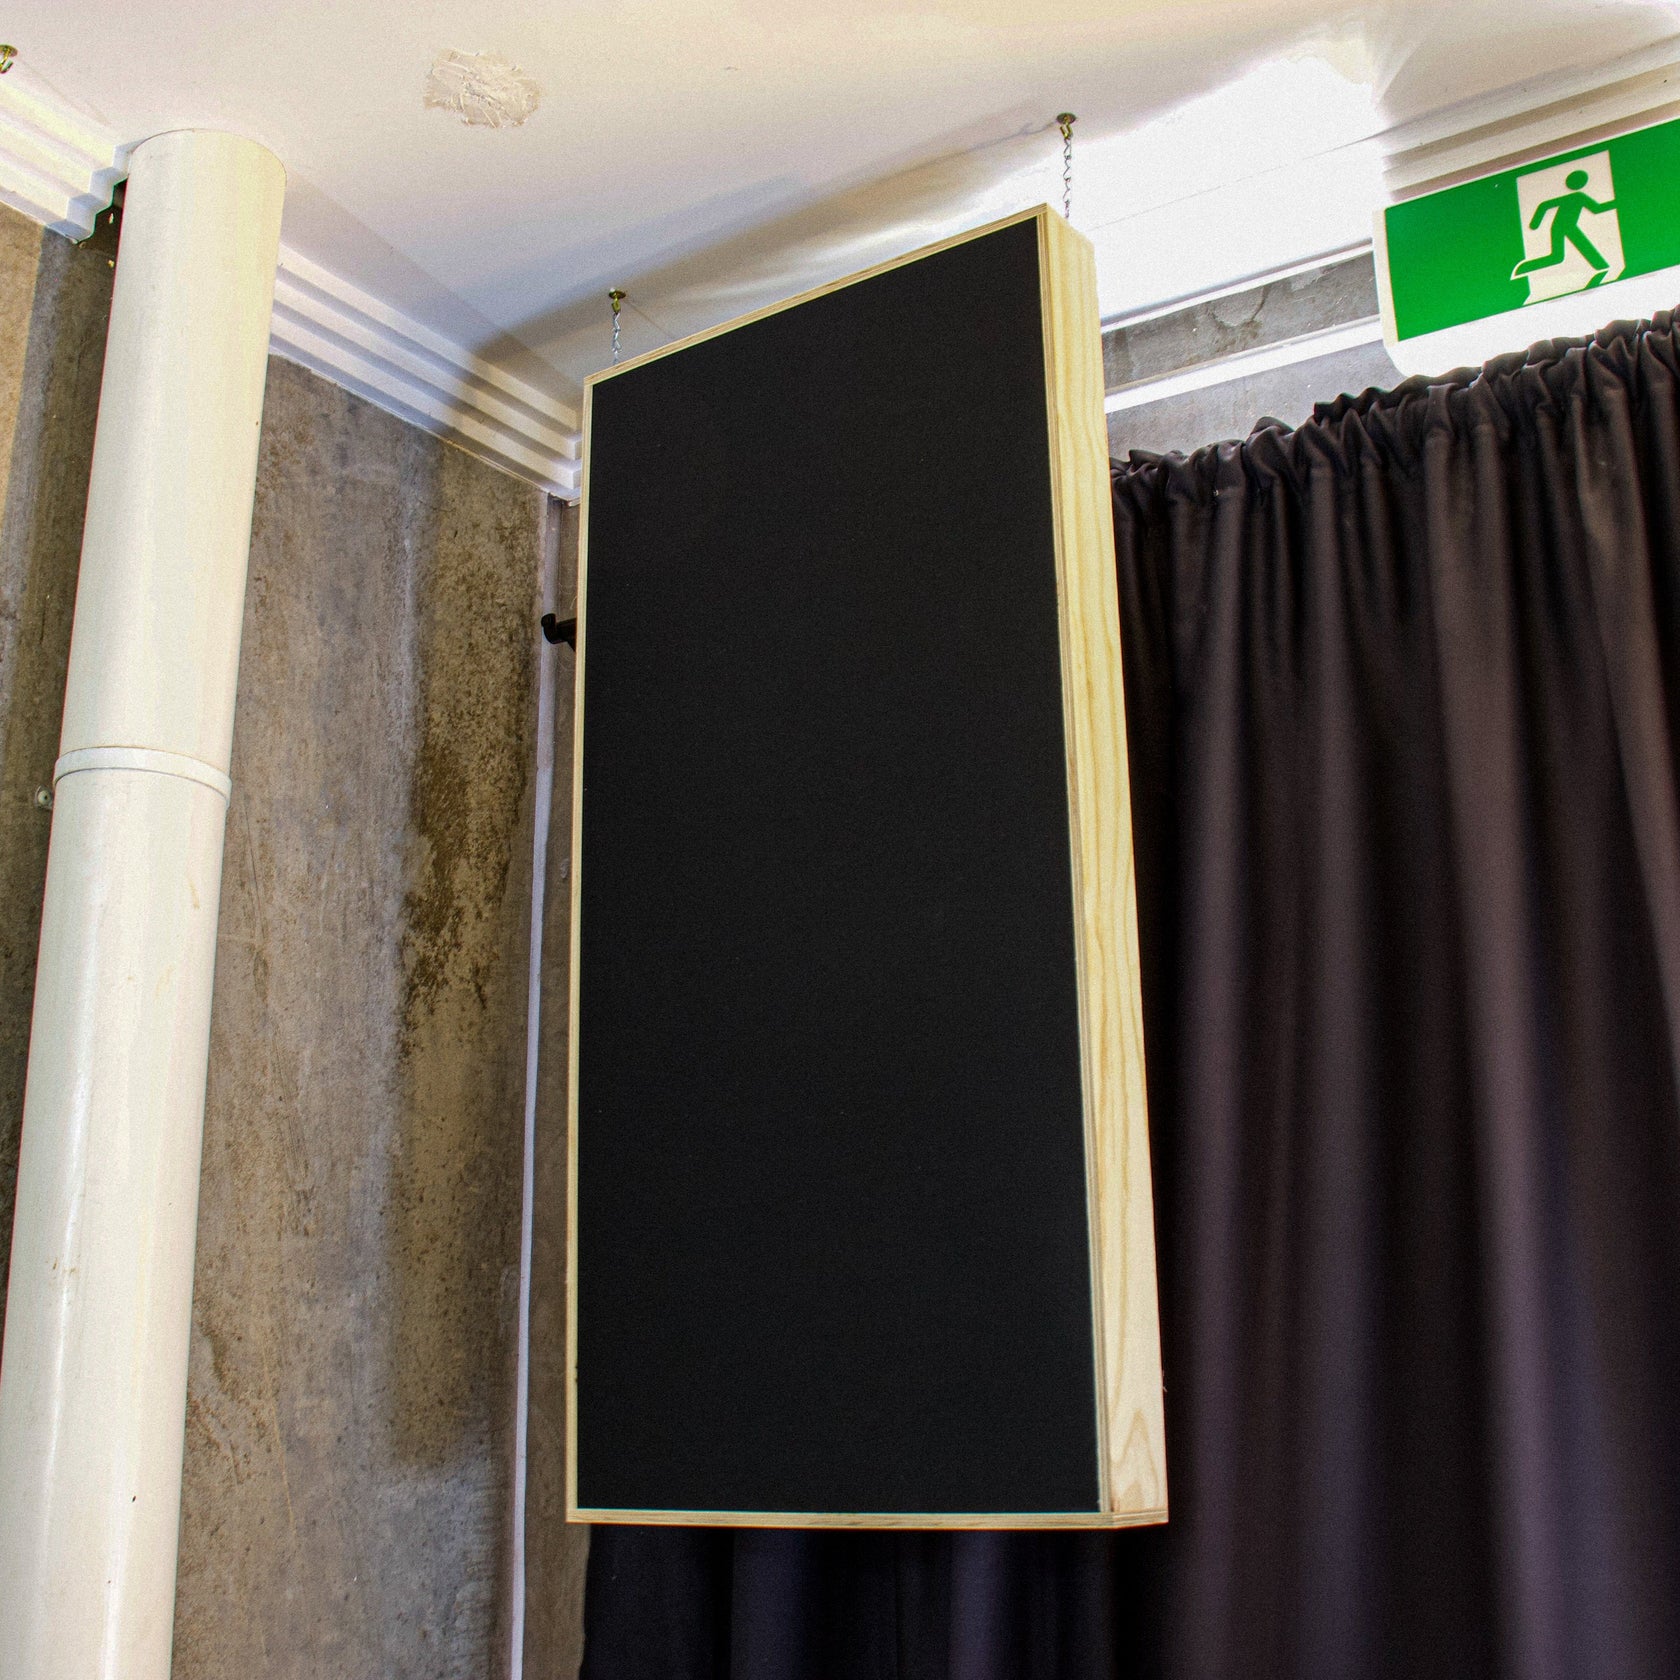
The vertical ceiling hang kit is designed to be used on all products in the exact same way. This kit is useful if you have a section of wall that can’t be screwed into - such as a window or door, or you have a large space in which you would like the treatment to be closer to the listening position, making them far more effective.
As every room and situation is different, we don’t provide a set length of chain. You can simply let us know what length you need once purchased. We allow up to 80cm for the given price. Let us know if you need longer lengths.
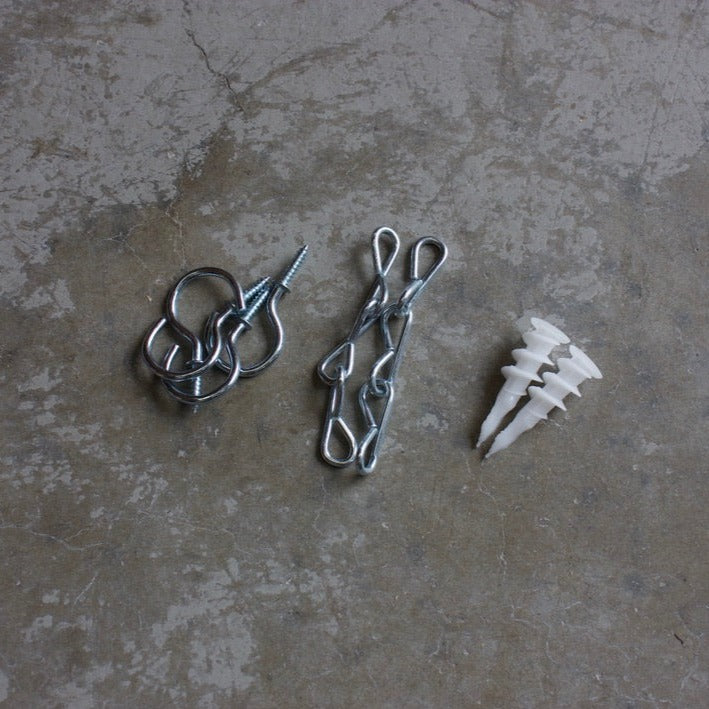
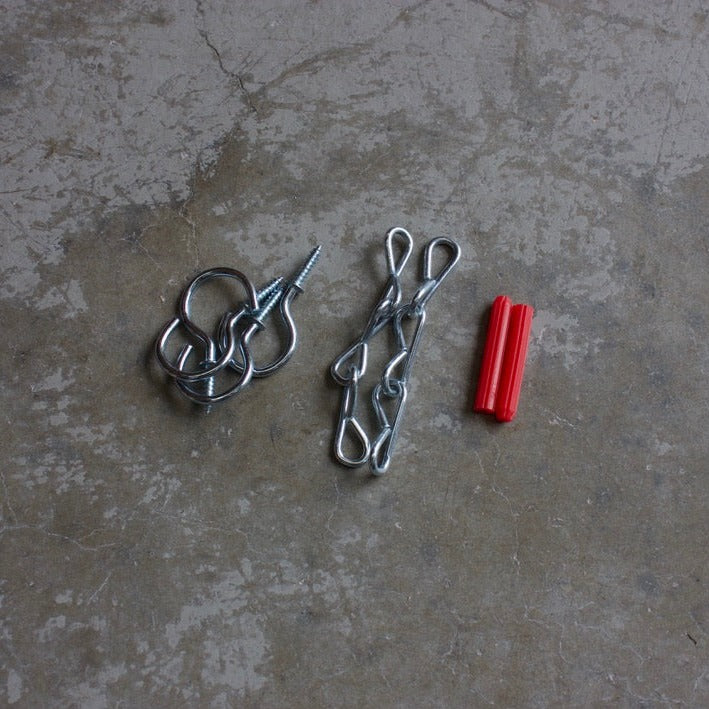
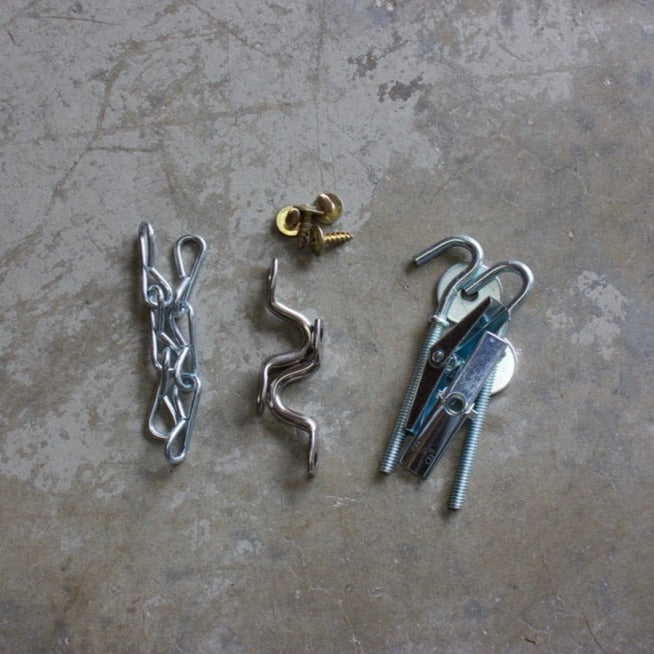
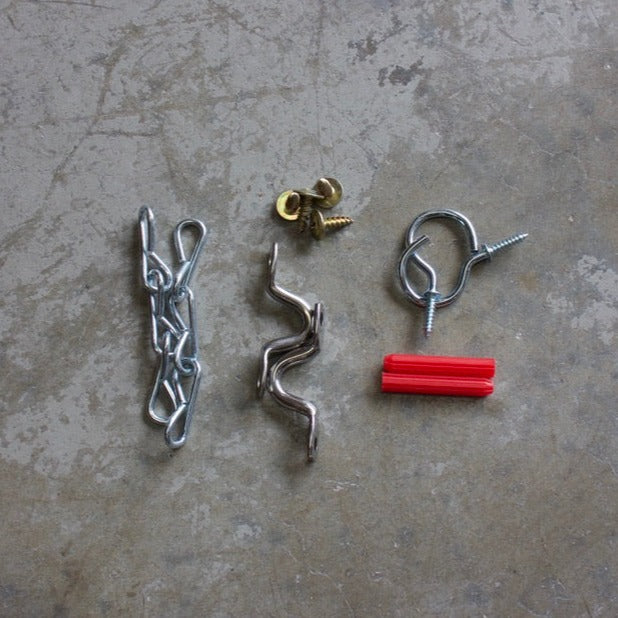
2x Nylon Screws
4x Screw Cup Hooks
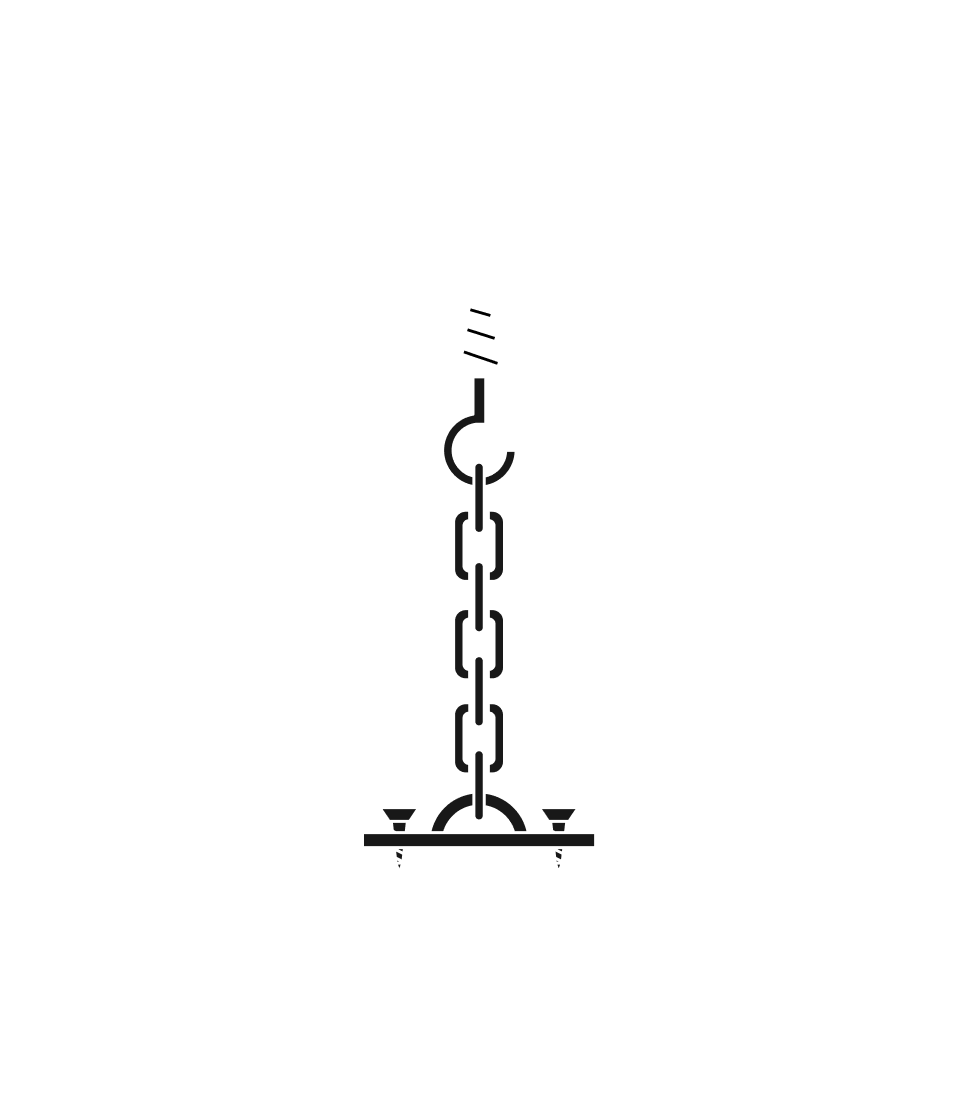
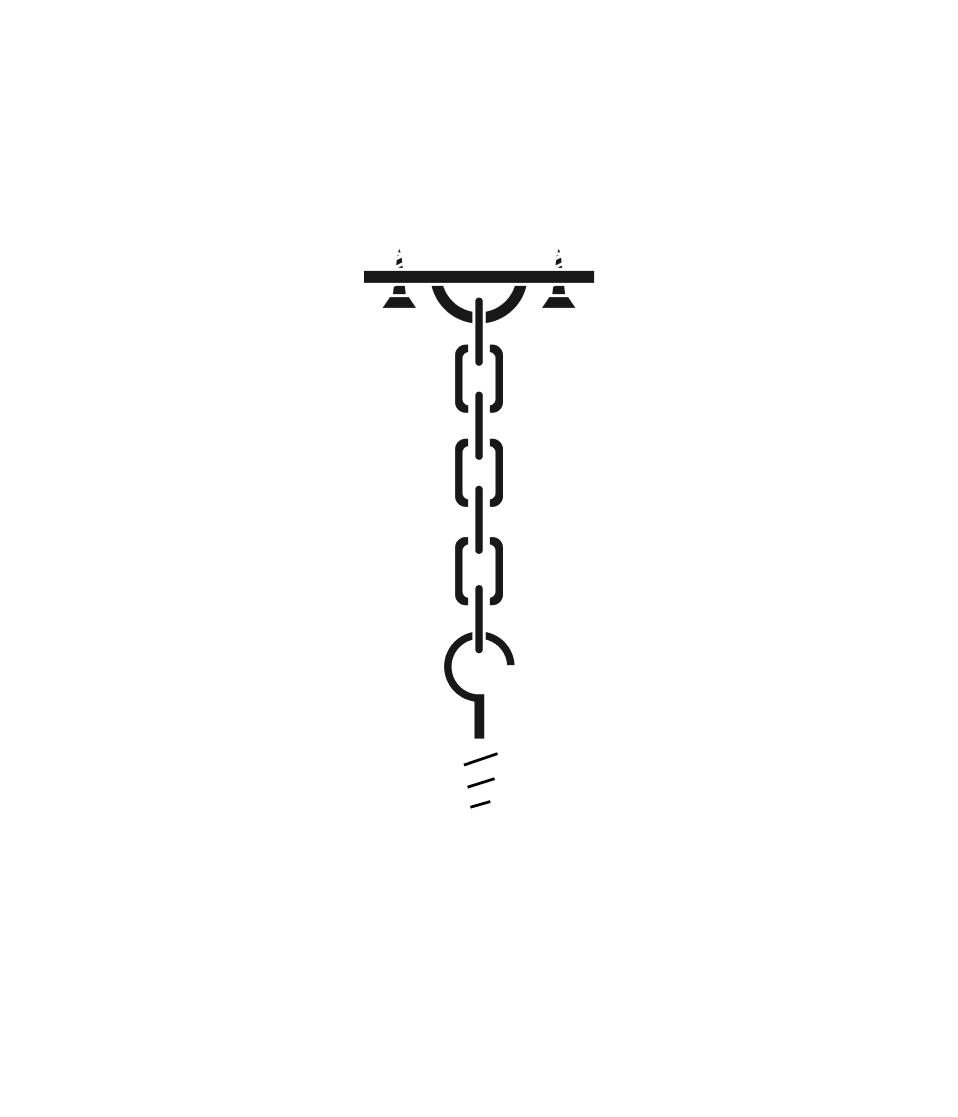
2x Chains
Purchase 1x kit
Please refer to the ‘Room Setup’ guide to determine suitable positioning of your products first.
Always ensure there are no electrical wires behind where you are drilling. Use a AC detecter if unsure.
Tools required: Measuring tape, pencil, electric drill, PH3 Phillips Head and a 5mm & 2.5mm drill bit.
- Measure and mark out along the ceiling from the wall where you want one end of your product to hang from. Let's call this measurement X. They can really be as far in or out from the wall as you like. Maximum performance for V Panels is a 100mm for Premium and 200mm for Ultras from the wall.
Keep in mind they will hang from top top centre edges of the product. There are two hang points. See picture for details. - Measure 555mm along the wall/ceiling corner from your first mark, and then out again from the wall for your second hang point (measurement X). The two marks should be parallel with the wall.
- Drill a 5mm pilot hole for the two marked out holes into the plaster. If you hit a stud, you can screw the hook directly into it.
- Place the tip of the nylon screw into the hole and screw (PH3) in slowly until flush with the wall. If there is too much resistance, drill a larger pilot hole to avoid breakage.
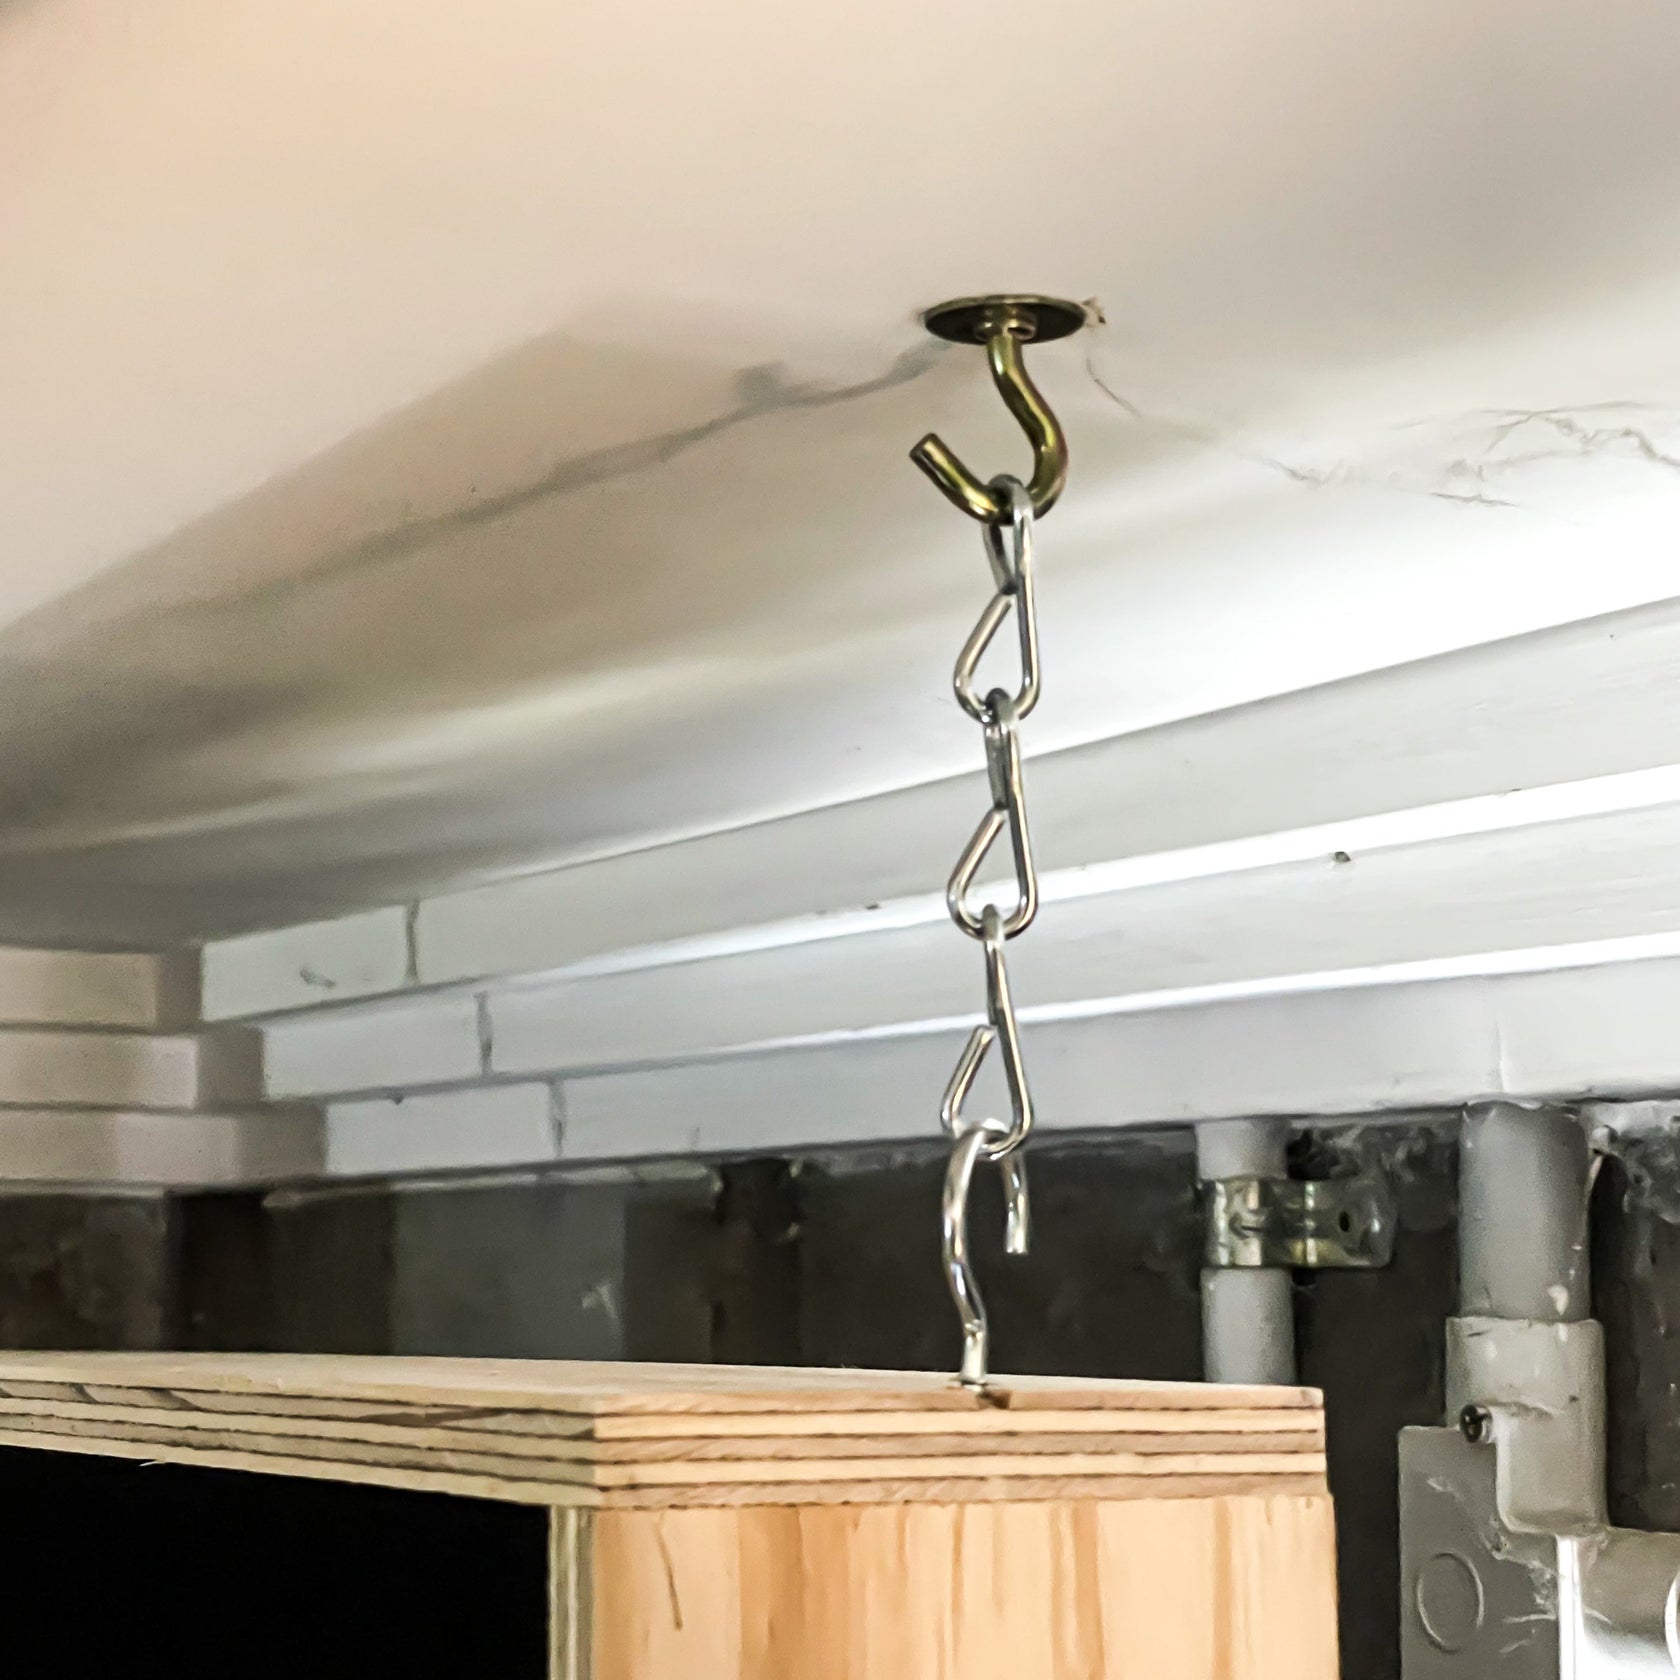
- Screw the cup hooks into the nylon screws and hang on the chains.
- On the top of the product, drill a 2.5mm pilot hole centred on the frame, at each end about 20mm in from each edge.
- Screw in the two remaining cup hooks into the pilot holes and hang the product on the chains.
If you would like someone to install your products for you, please refer to our ‘Services’ page.

