Wall Kit
$5.00 AUD
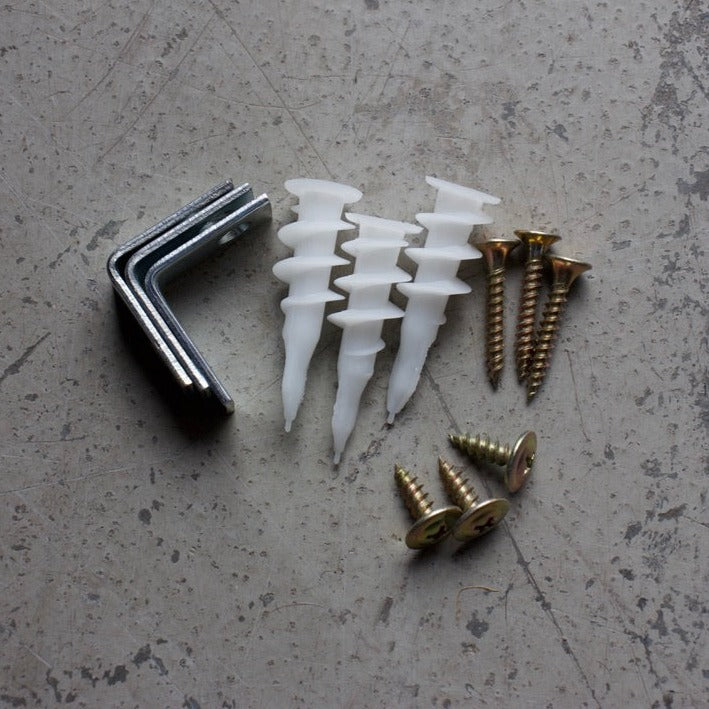
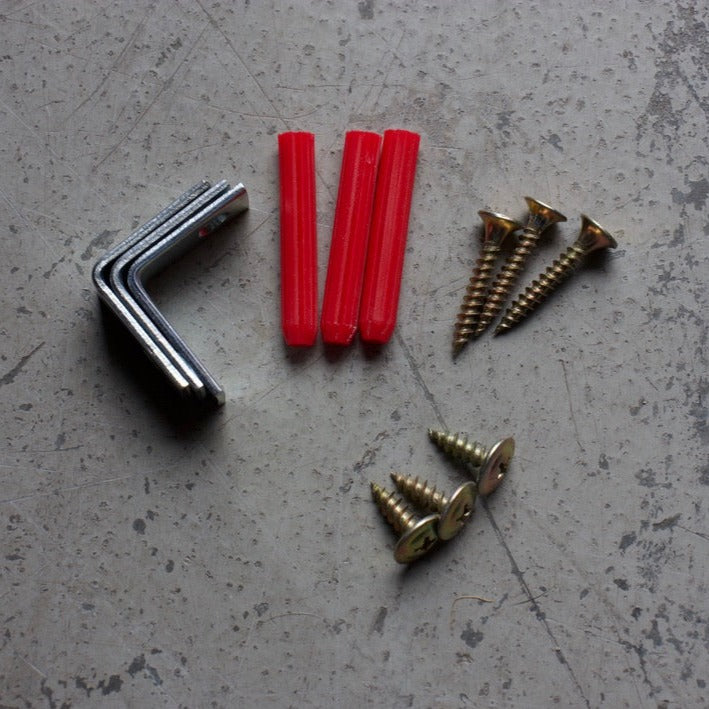
Select from the options above to view the appropriate ‘What’s Included’ and ‘Instructions’ below.
Our wall kits are designed to suit a variety of surface areas for most of our products and does not require the need to install into studs.
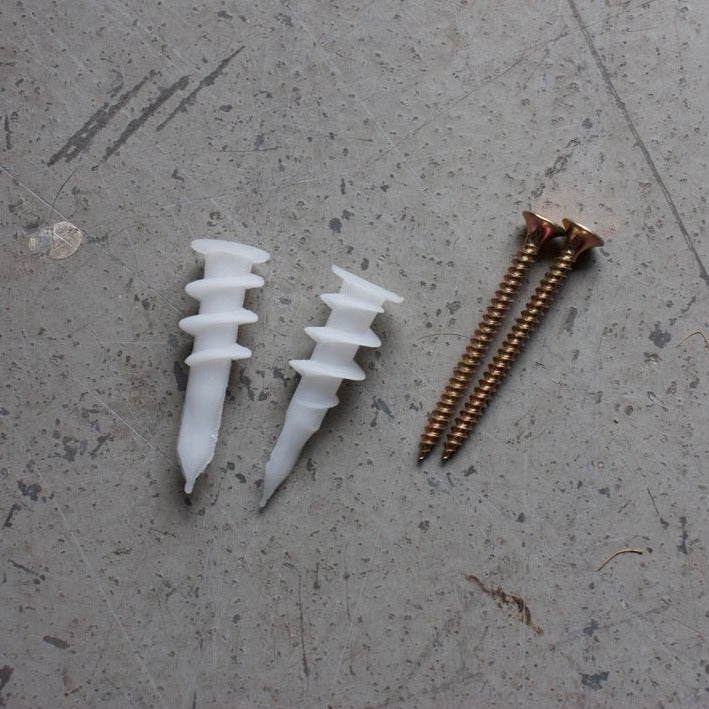
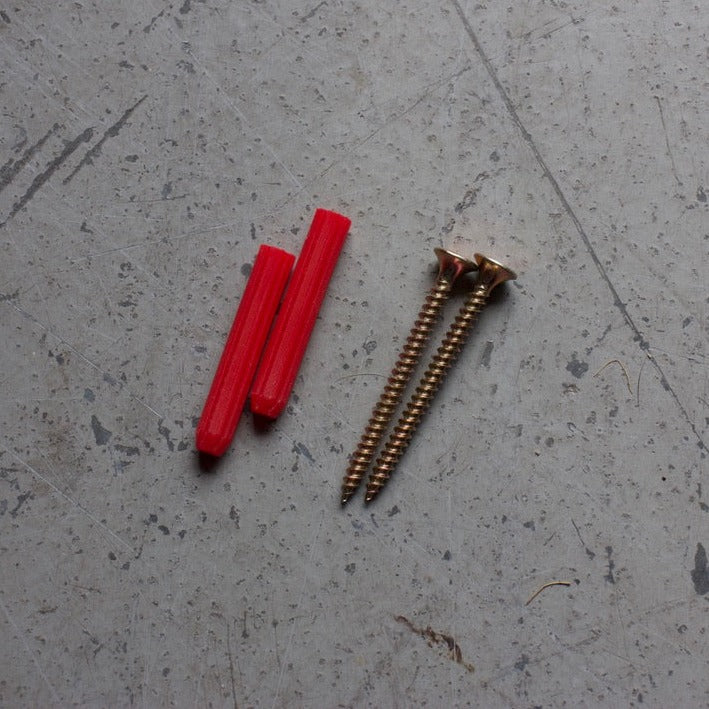
2x Nylon Screws
2x Long Screws
Purchase 1x kit per product.
Please refer to the ‘Room Setup’ guide to determine suitable positioning of your products first.
Always ensure there are no electrical wires behind where you are drilling. Use a AC detecter if unsure.
Tools required: Measuring tape, pencil, electric drill, PH2 & PH3 Phillips Head, 5mm drill bit and a level.
- Measure and mark out the holes in the desired locations. There are two anchors per product at 500mm apart (do not have holes closer together). So mark out one hole then use your level to mark out the second.
Recommended heights from floor to drilling points are:
- 1590mm for low ceilings from 2.4-3m &
- 1890mm for high ceilings at 3m and above.
These heights also match our ‘Stands’ range.
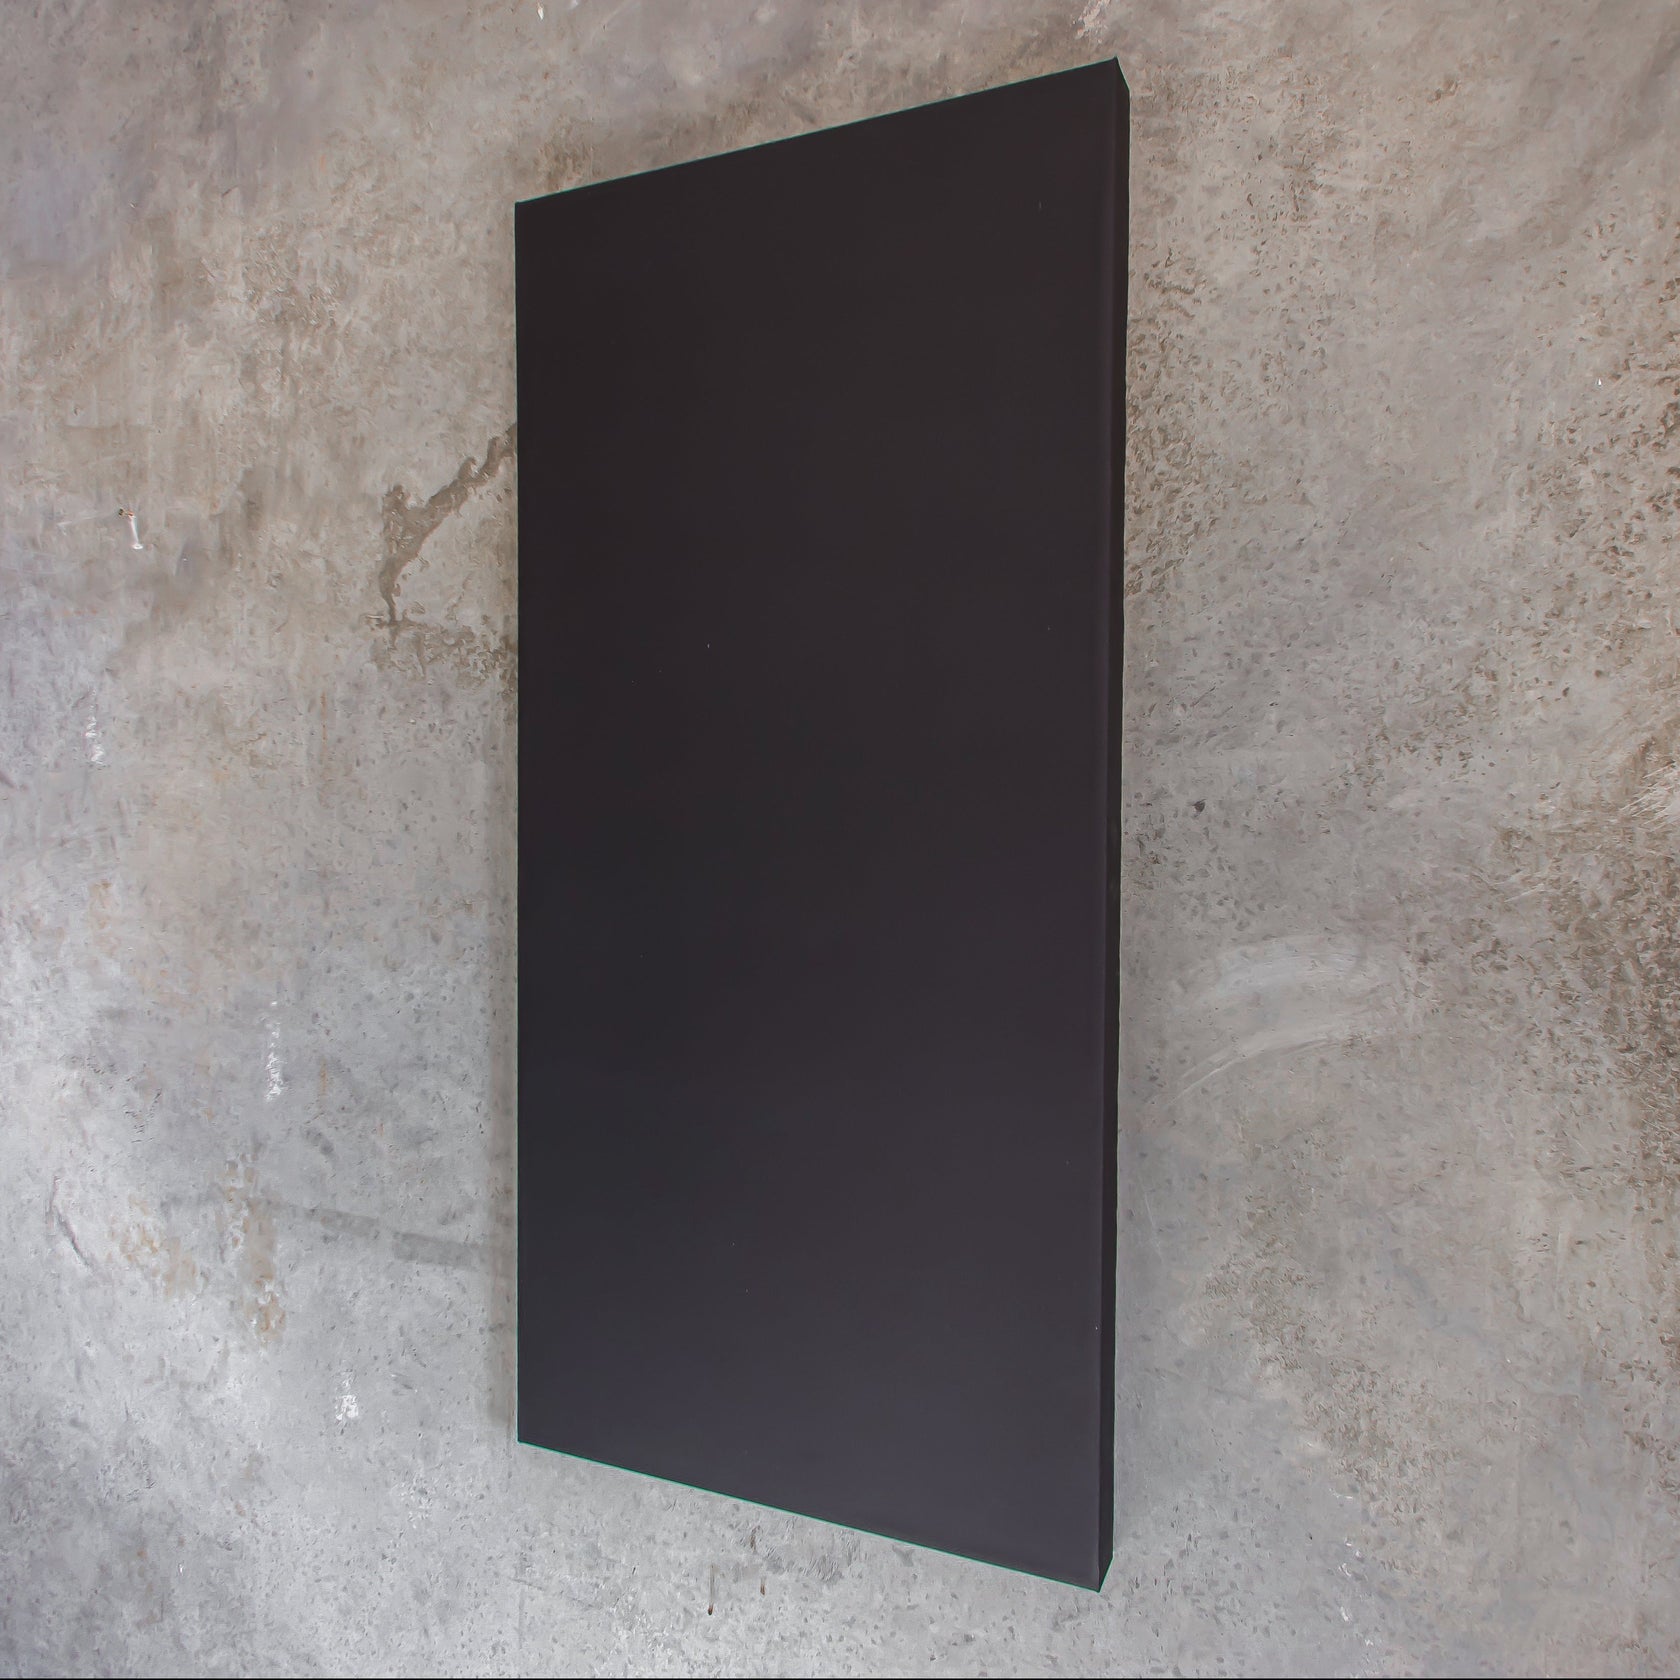
Note: the panels will hang from a support bar at the rear, not the top of the panel.
- Drill a 5mm pilot hole for all marked out holes into the plaster. If you hit a wall stud, you can screw the hook directly into it.
- Place the tip of the nylon screw into the hole and screw (PH3) in slowly until flush with the wall.
If there is too much resistance, drill a larger pilot hole to avoid breakage.
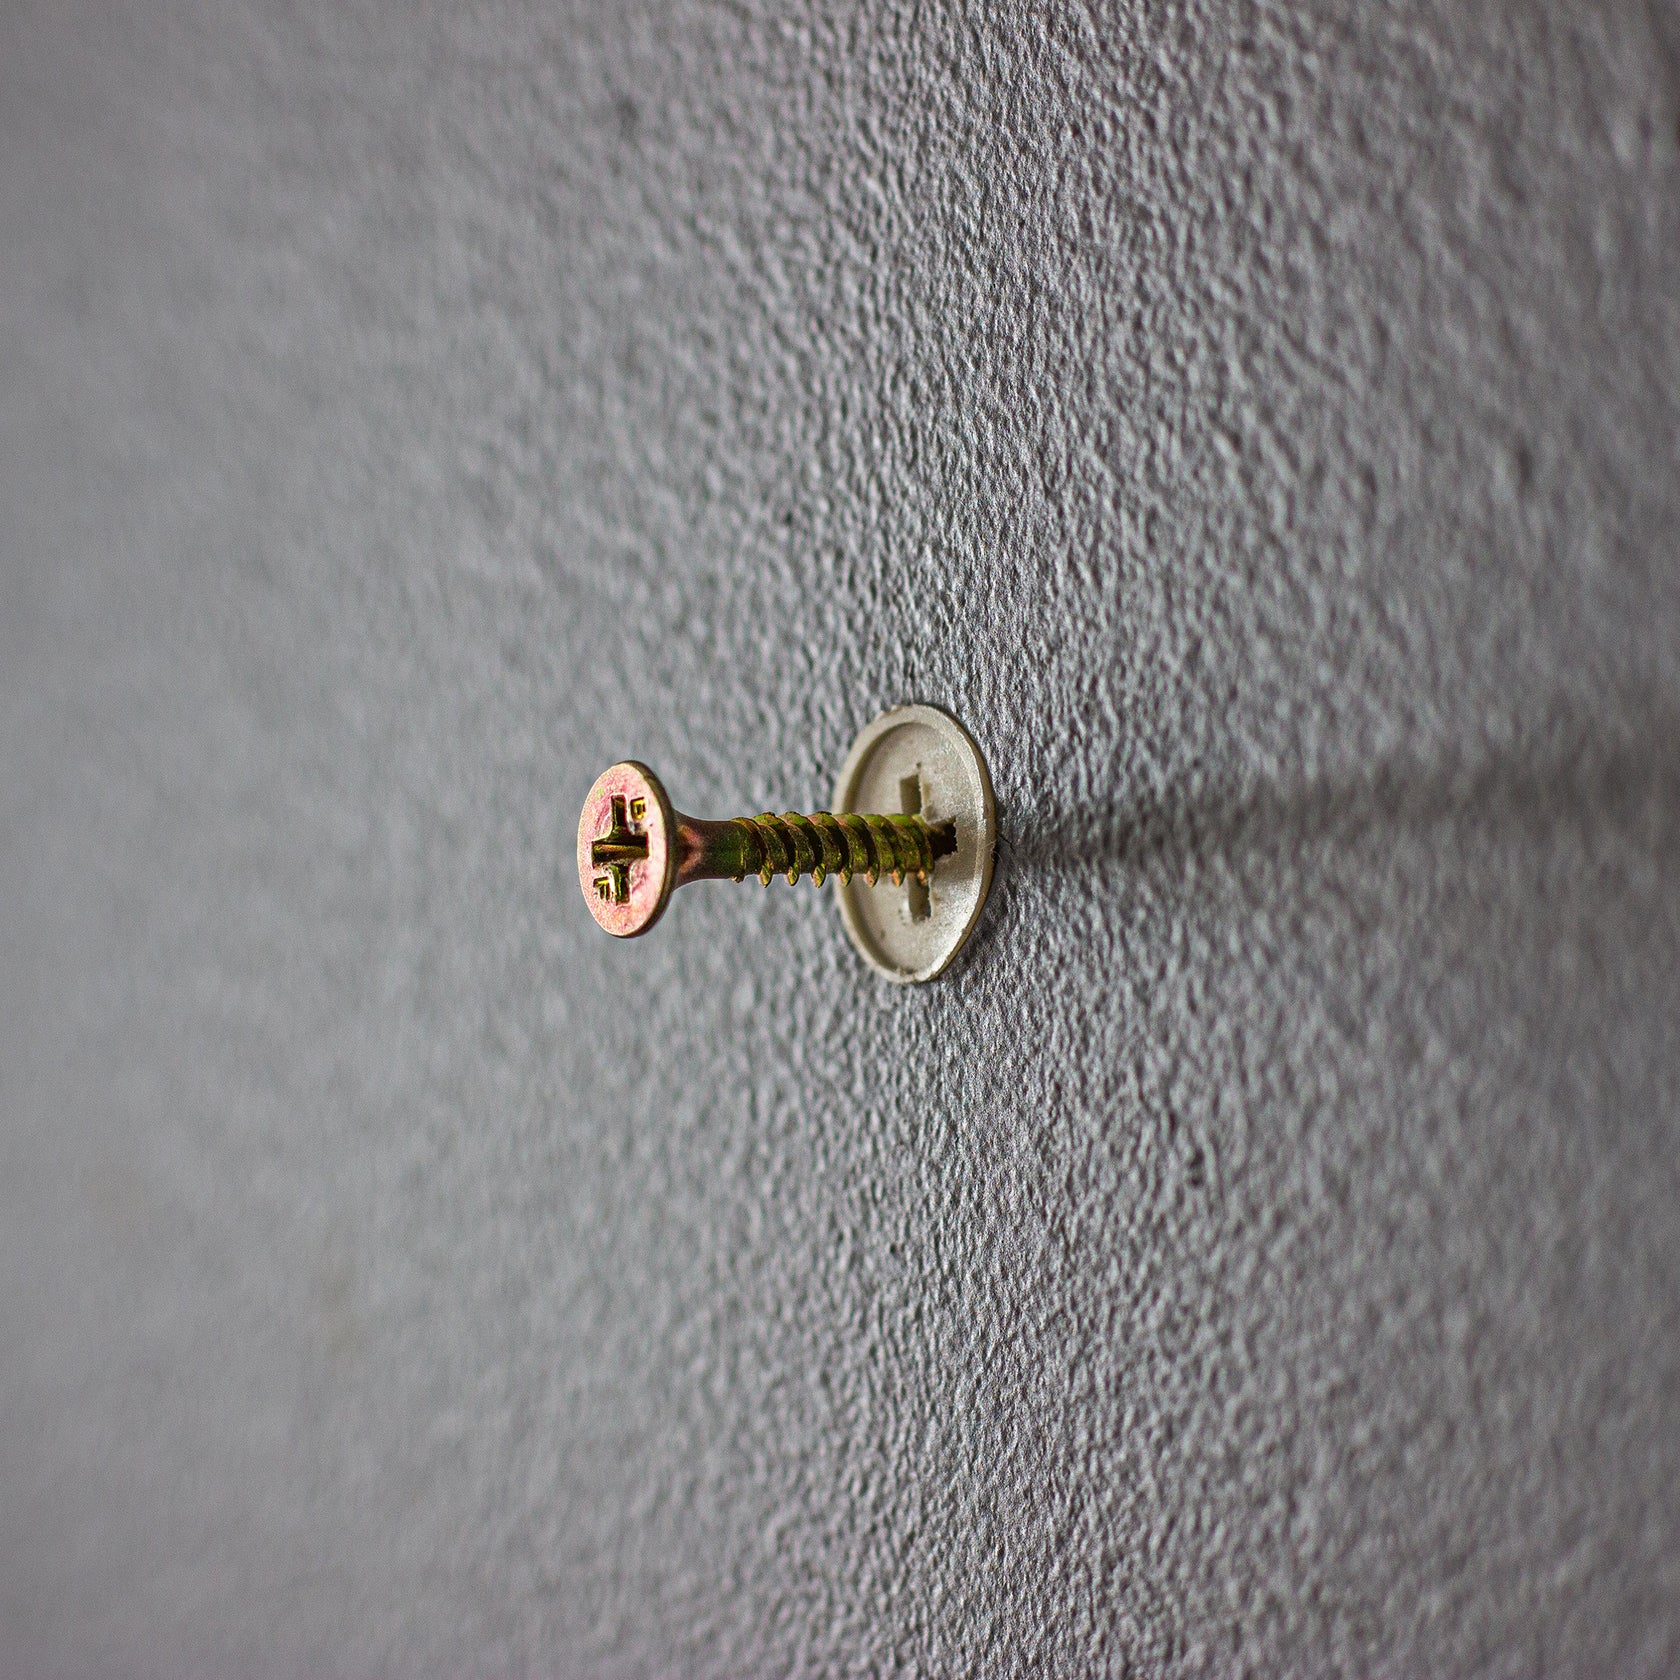
- Screw (PH2) the metal screw into the nylon screw until protruding out about 20mm.
- Repeat for second hole.
- Hang the product on the screws from the top supporting bar at the rear of the panel. Use the level on the side to make sure it’s straight. If not straight, you can adjust the frame slightly by placing the panel on the ground on its corner and pushing down. If its still uneven, you may want to drill another hole.
If you would like someone to install your products for you, please refer to our ‘Services’ page.

