
Over the years, we have compiled a number of basic tricks that can assist you in achieving your room's maximum potential. It’s a start to finish guide and should be used as a guide only. Every room is different and people often get bogged down in the technicalities, mostly on things they can;t control, so we trust more than anything, to always use your ears.
Note: This is mostly suited for audio production studios, but can be applied to HIFI and home theater also.
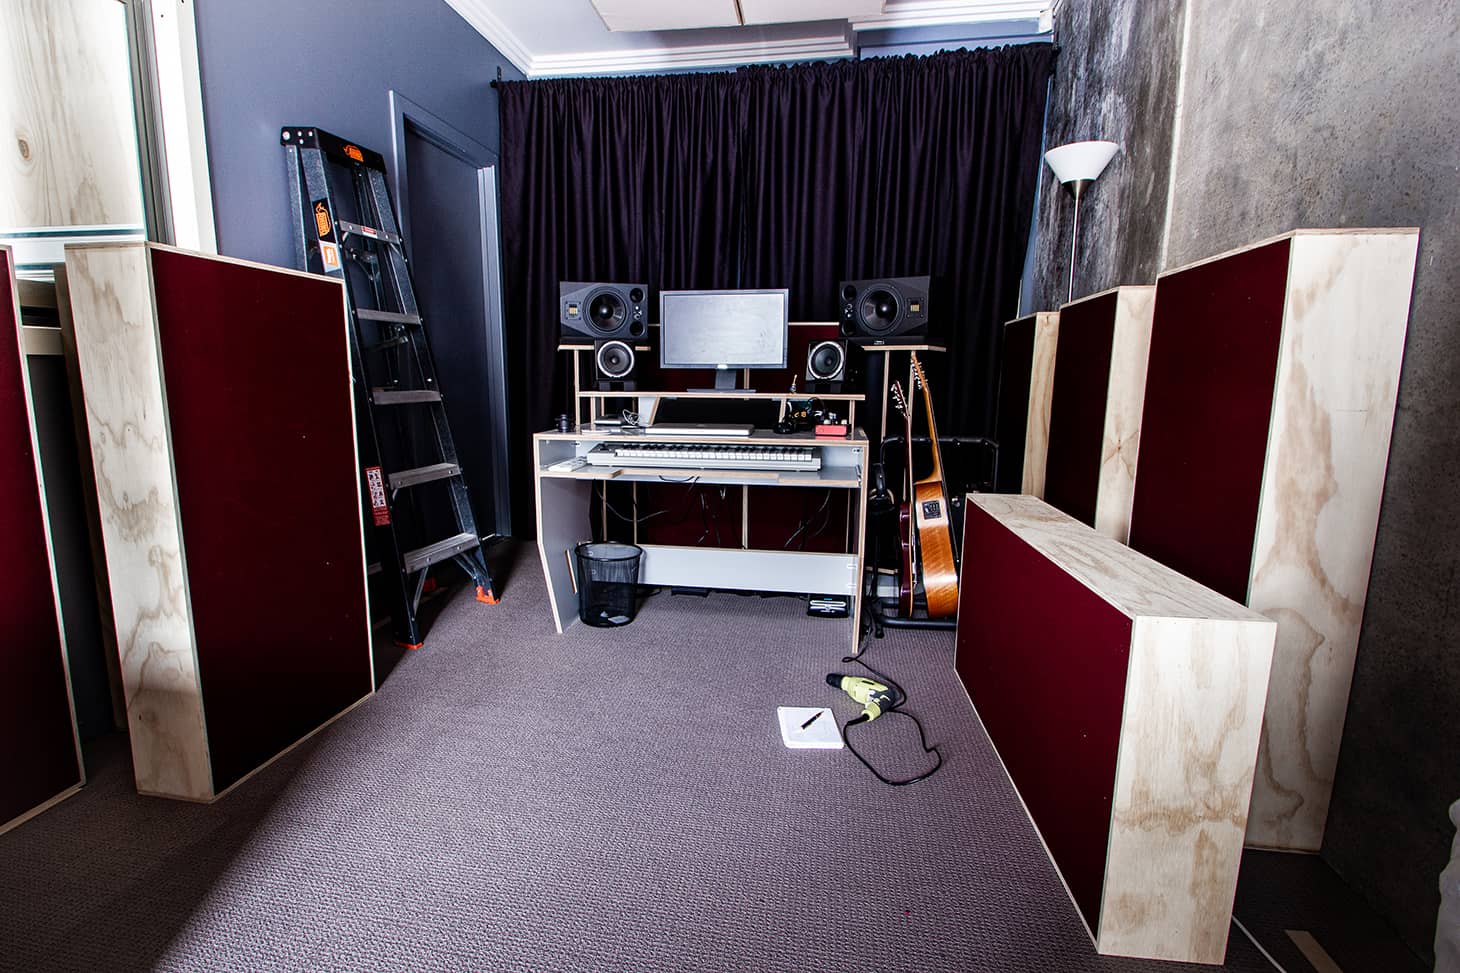
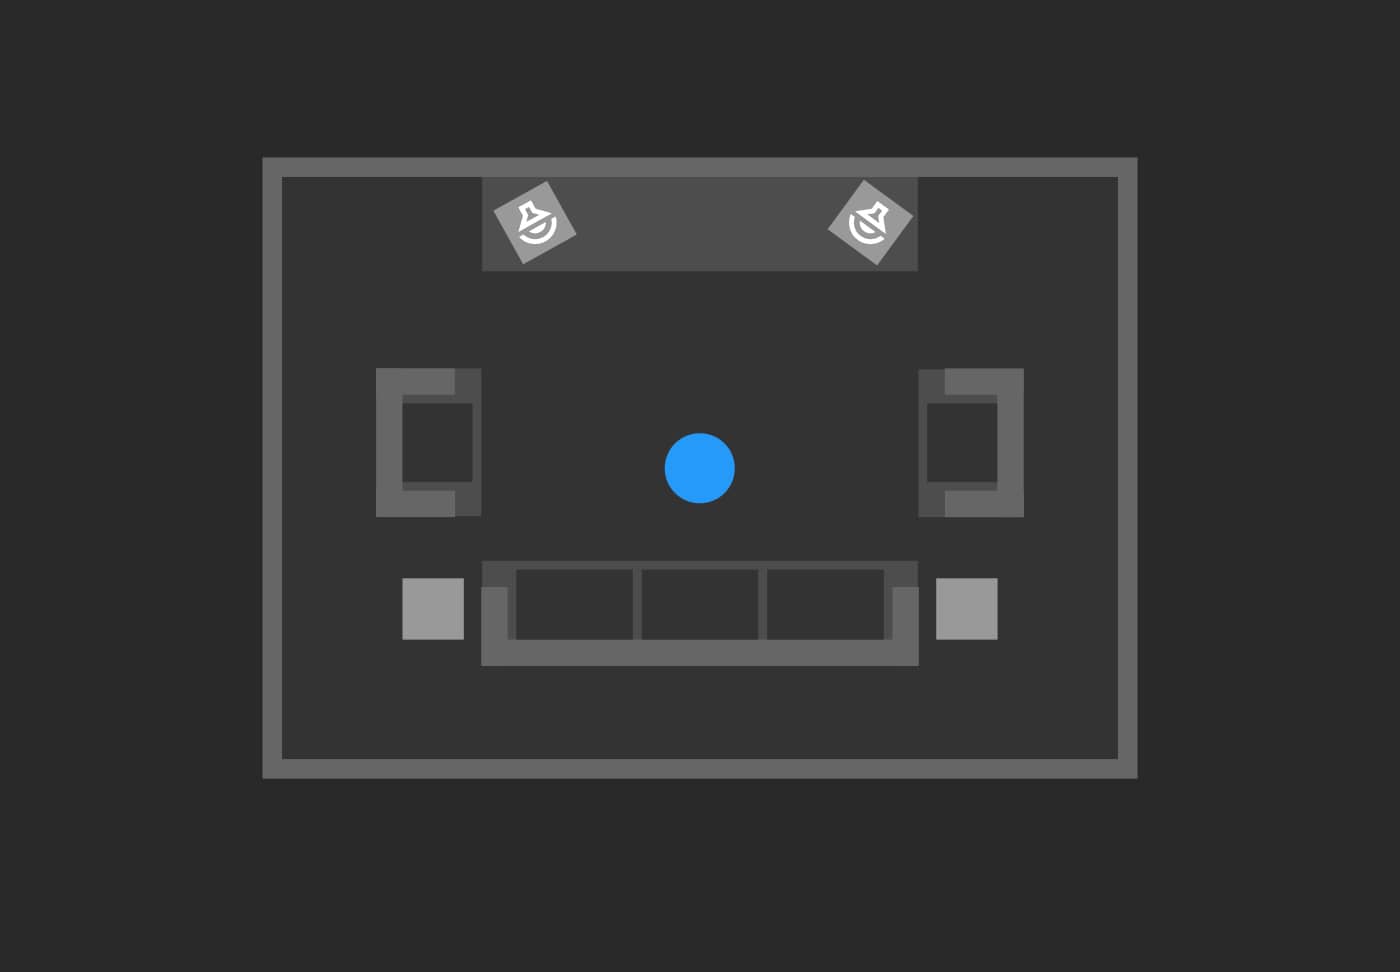
Clean Slate
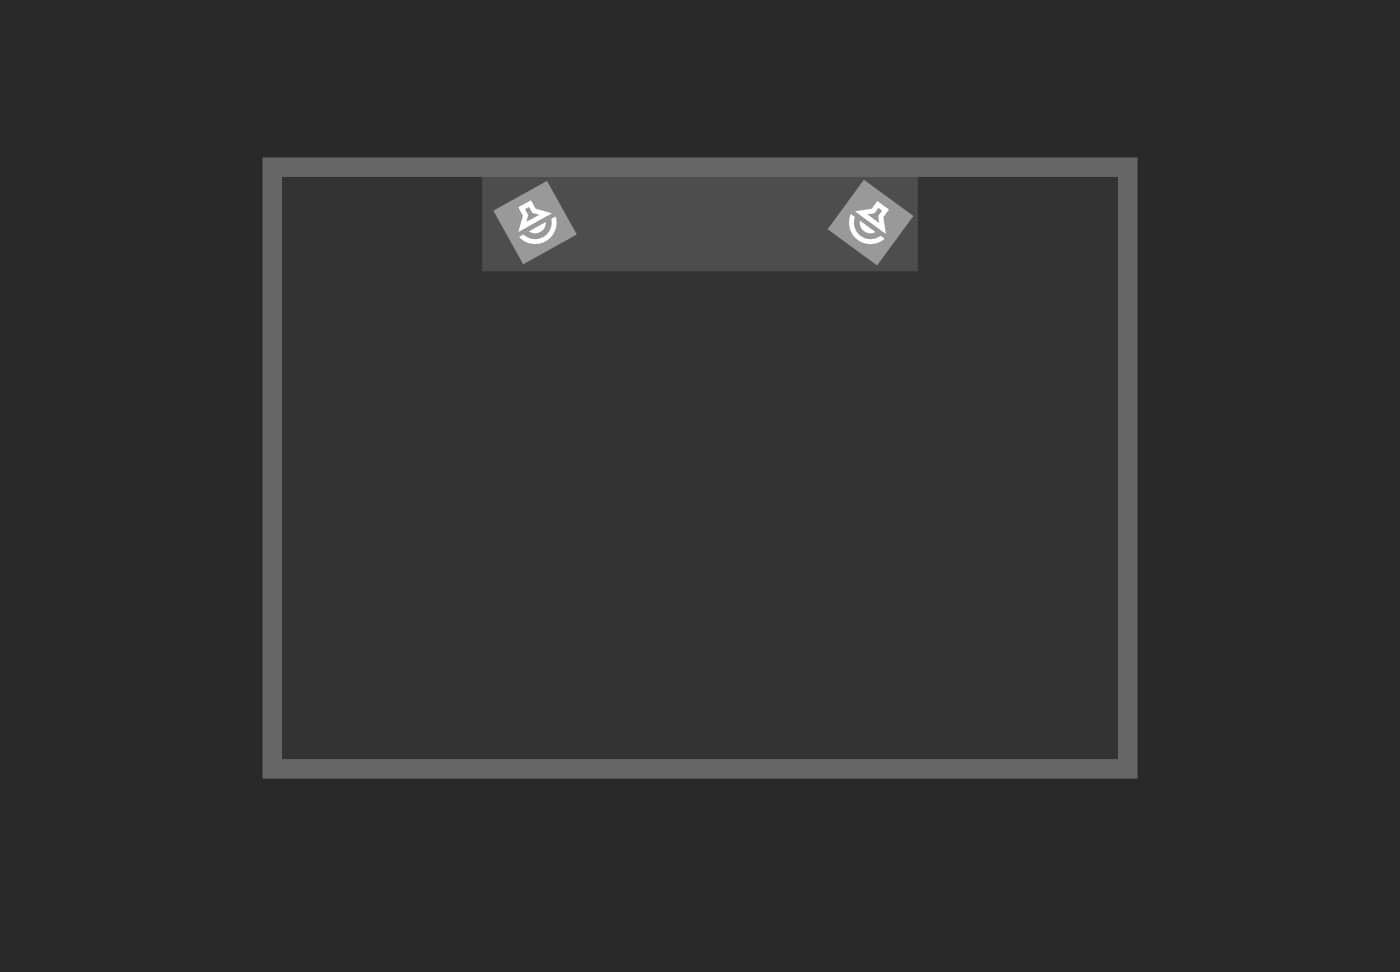
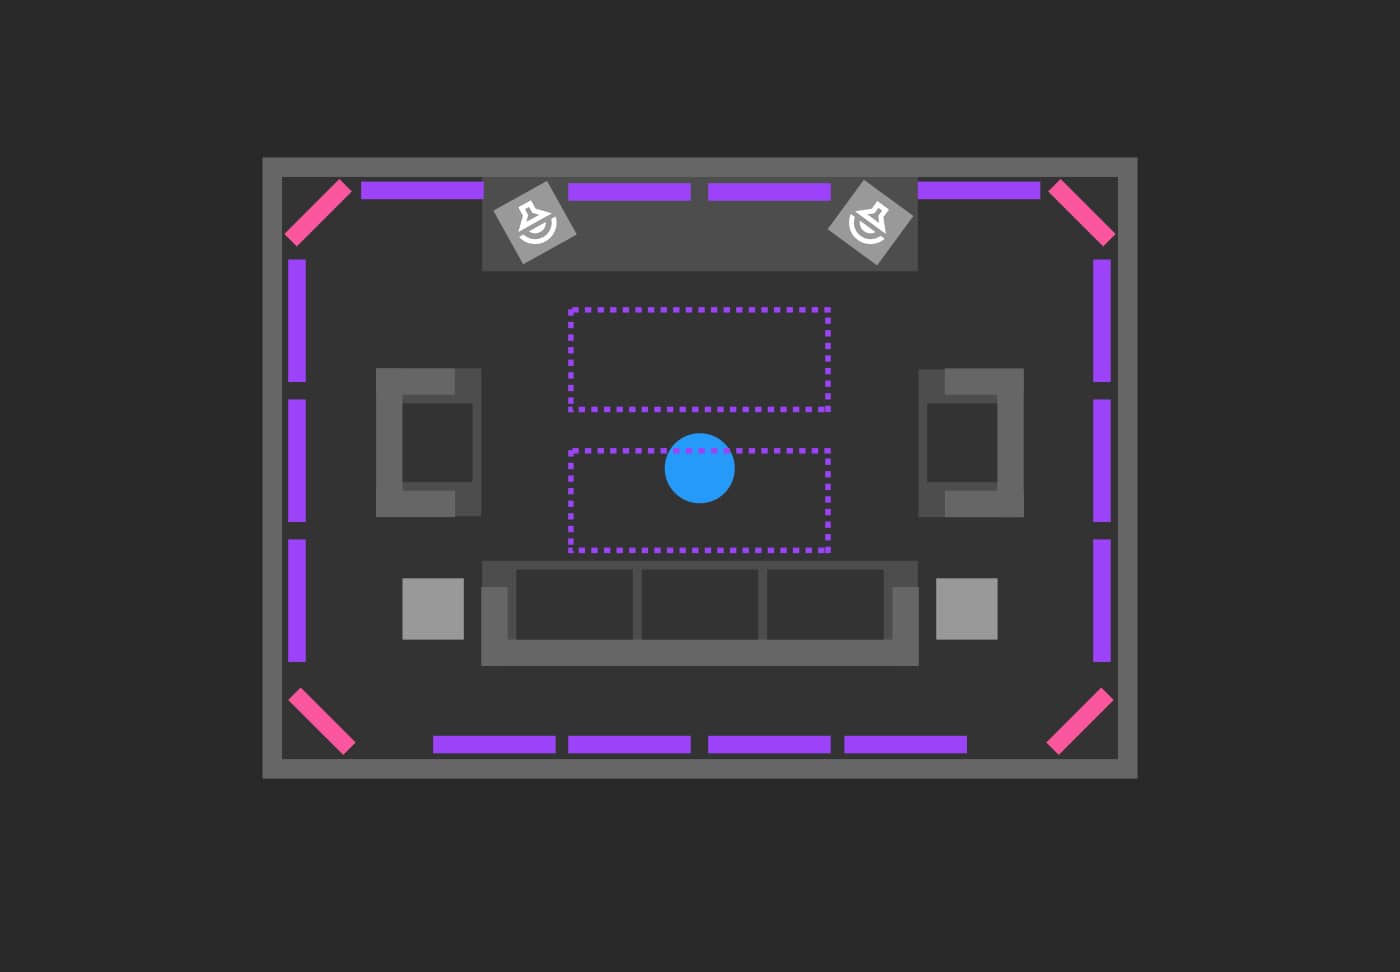
Start with an empty room. Find the shorter wall of the room and centre your speakers at a typical listening height. Make sure you have something dense between your speakers and the ground. Concrete blocks or foam pads work well.
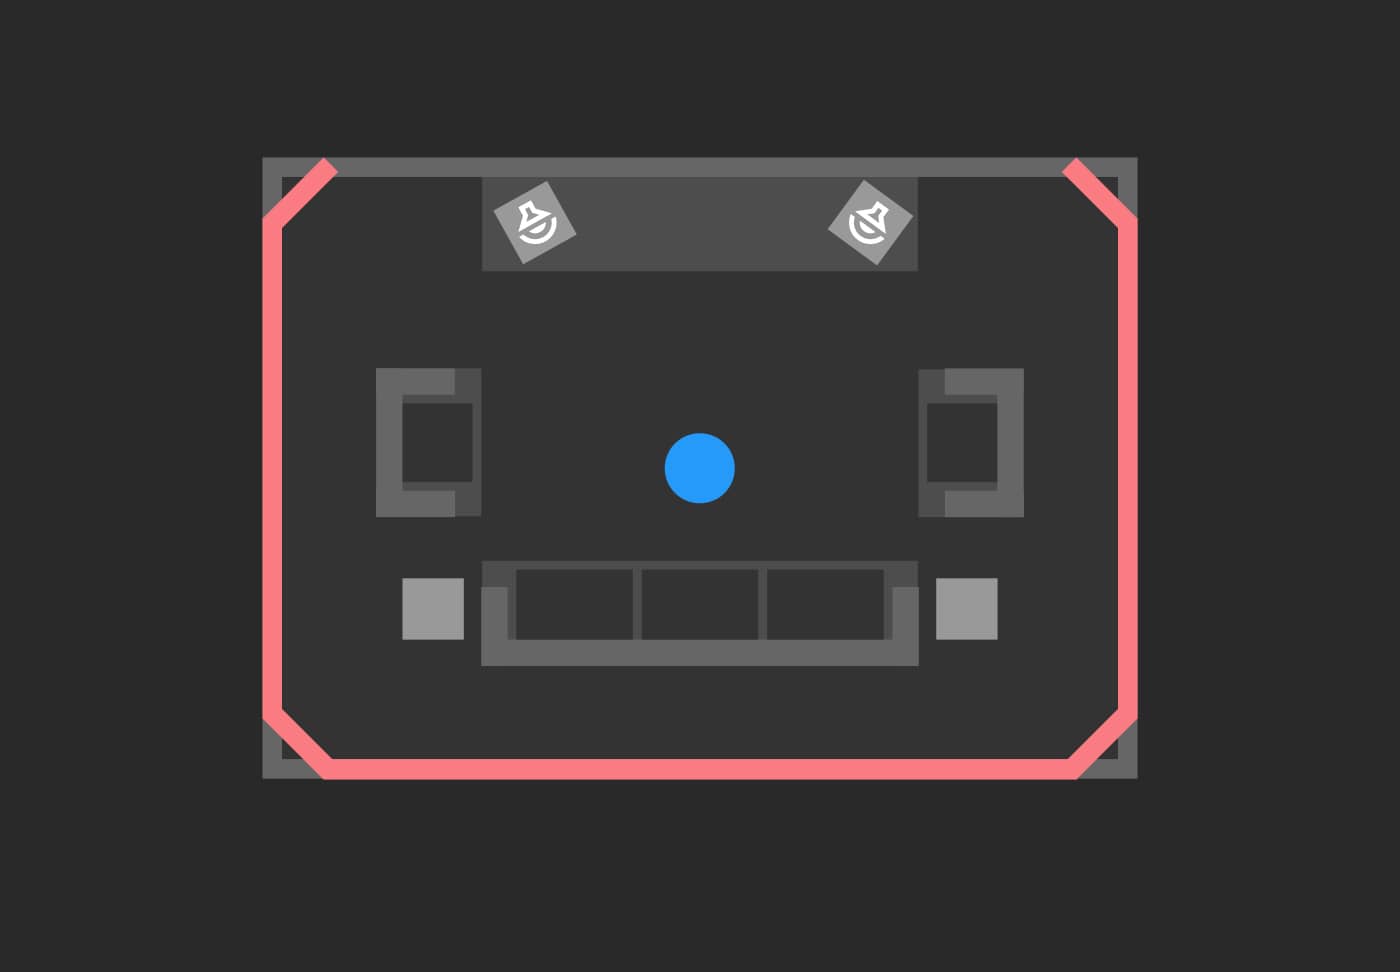
Positioning
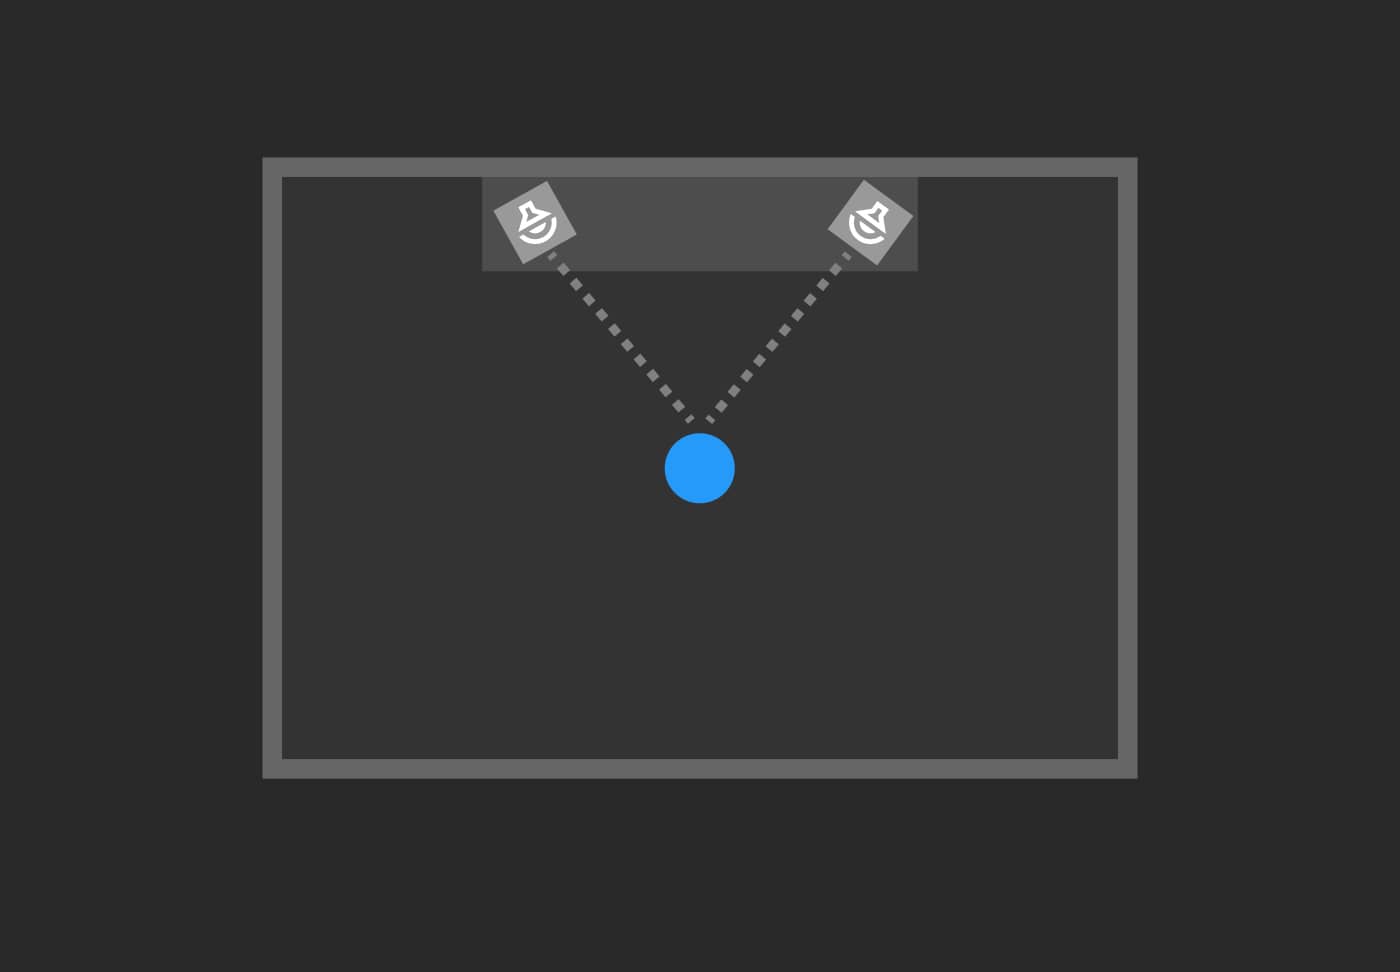
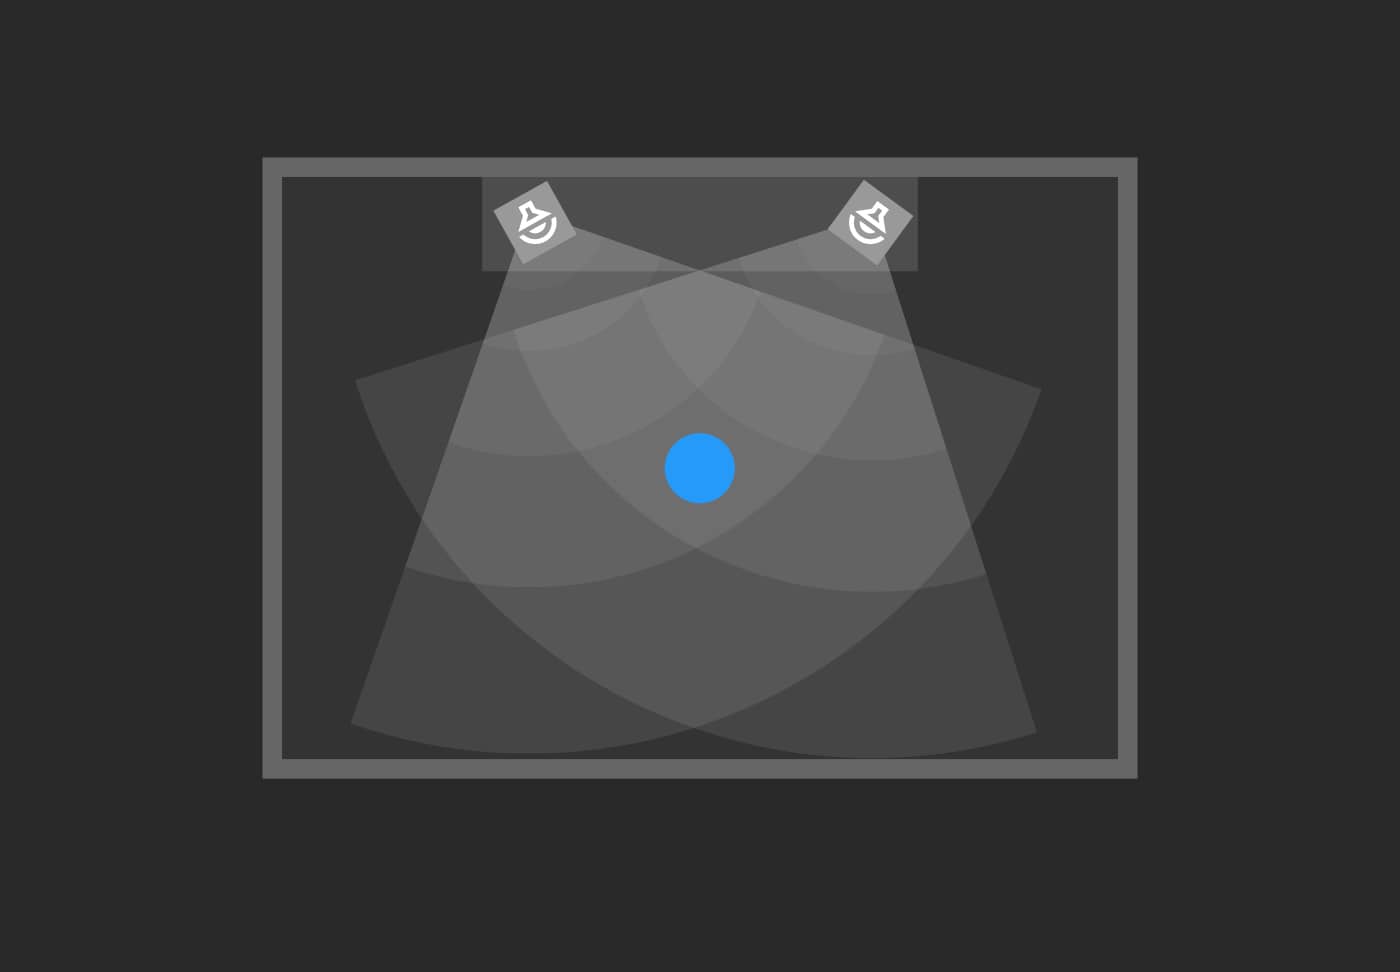
Sit in a chair and create an equilateral triangle between you and your two speakers just off from the wall with the listening position about 40% back. Keep everything as symmetrical as possible and keep the tweeter pointing directly towards your ears.
Listen
Choose three or four songs that you know well and that vary in dynamics and style. Listen to them intensely for 10 minutes. Repeat this process on the adjacent wall and compare what sounds better.
Fine Tuning
Experiment with the distance between you and the speakers keeping the triangle intact. Put all the furniture in your room. If you have a large table or console in front of you that is close to the speakers, raise your speakers higher to avoid early reflections and point the down to you.
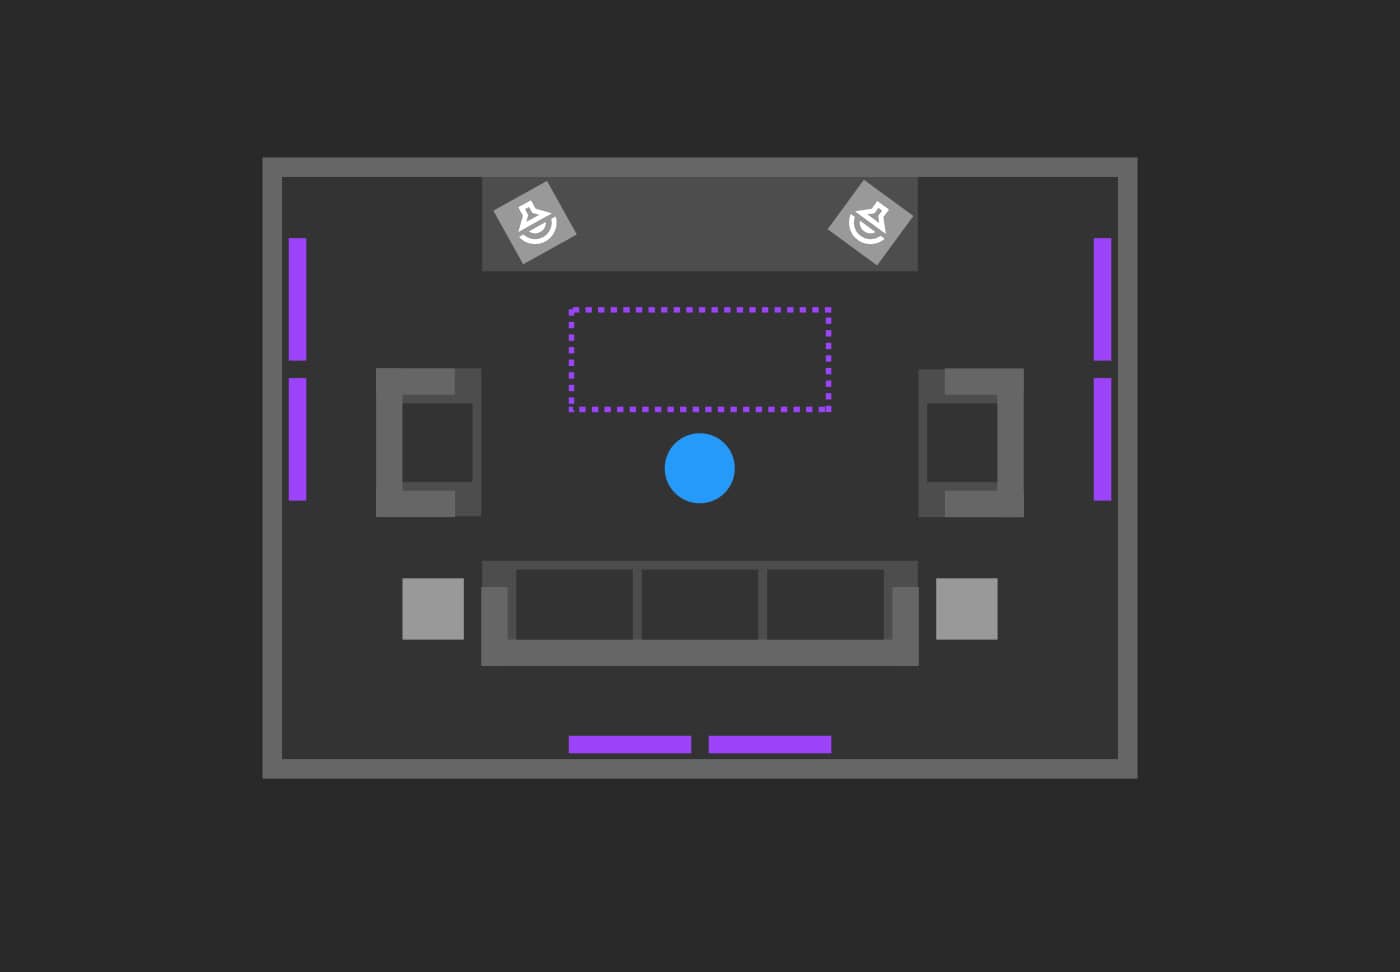
Panel Options
For treatment, first reflection points (side walls, ceiling and back wall) and low end corner treatment should be targeted first, depending on your room and what you think is more pressing. Again, use your ears. If you are getting lots of flutter and finding it hard to determine the stereo image, focus on the first reflections. If you have a small room and the low end is unbearable, target the corners first.
First Reflections
First reflections: Move a mirror along the walls and ceiling (somewhere in-between you and your speakers) until you see the tweeters in your line of sight, generally from the opposite speaker only depending on the size of your triangle. Place your panels in these positions.
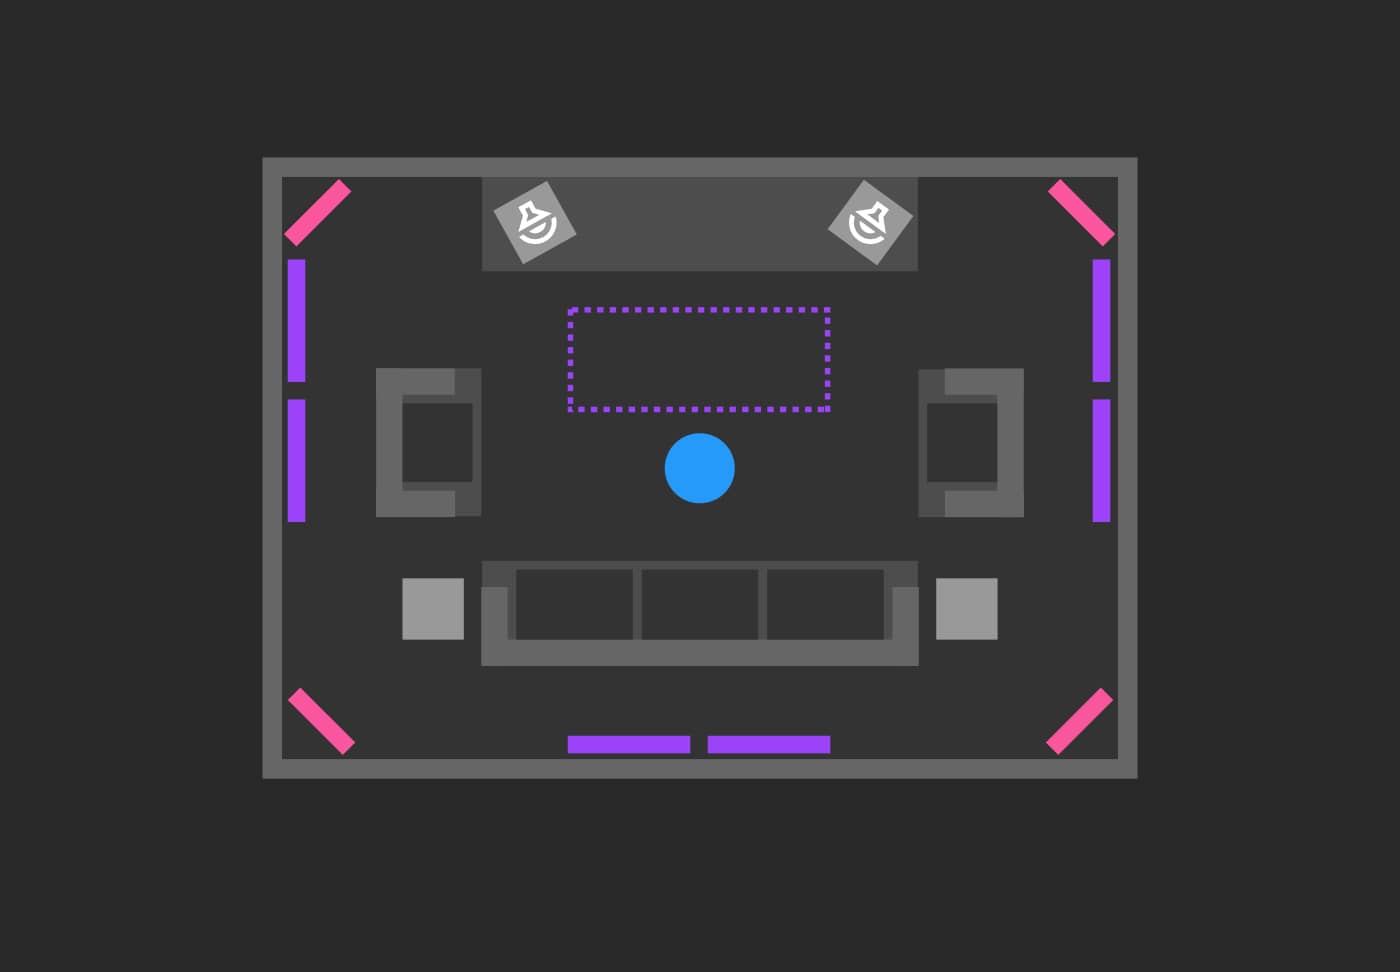
Corners
Bass treatment: Place the thick panels or bass traps across any two adjacent surfaces in the room (wall/wall, wall/ceiling, wall/floor). Focus on the corners closest to your speakers first as they will catch the reflections earlier. An easy place to start are the 2 vertical corners directly behind them.
Extra Treatment
Additional panels should be placed evenly around the room at ear height from the mix position. Any thickness can be used as clouds and wall panels. The thicker 200mm panels are highest performing and are always recommended for the best results.
Some things to note:
-
All panels have a 50mm built in air-gap at the rear. This is to increase their performance. You can extend this performance even further by placing the panels even further away from the surface. The improvement becomes less effective when the depth reaches the same thickness as the core insulation. e.g. 150mm panel has 100mm of insulation and 50mm air-gap, so an additional 50mm gap is suitable. Keep in mind these differences are marginal.
-
Placing panels on the ceiling is very important where practically and should be made a priority. This is because it is a large surface very close to the sound source. It is often overlooked.
-
Need someone to install them for you? We often have a handyman available so contact us for details.
If you have any questions at all, please feel free to contact us.